
#8 Assign the article to a category, delete placeholder numbers & insert images
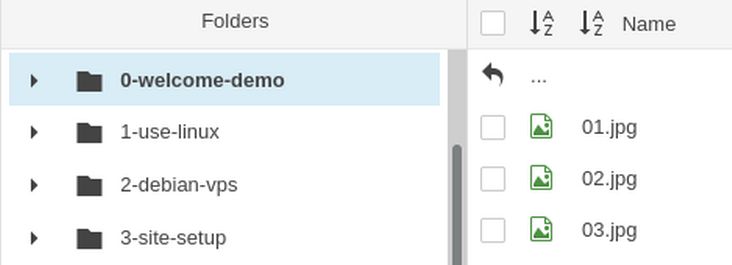
The Welcome article does not have a category. But we did assign it to Featured Articles. Before we transfer the 01 image back to our web article, we need to first delete the placeholder number 01, leaving our cursor where this image placeholder was. Then click on the JCE Images icon – which is the icon with the mountains in the right side of the second row above. This will bring up the JCE Images Manager. Click on the 0-welcome images folder to open it:
The JCE Images Manager will display all of the images folders from the Joomla Media Manager. First open the images folder for your article. Then click on the Image you want to insert to select it. Our Welcome Article has 3 images. Select the first one (01). You can format the size and alignment of the image if you want to make it bigger or smaller. Increase the size of the image by entering 400 in the Dimensions box. Type Open for Business in the alternate text box.
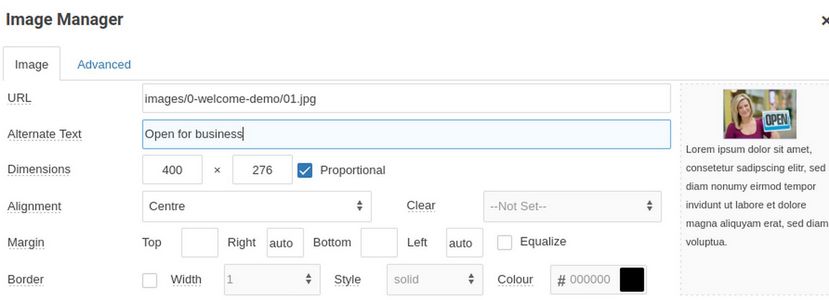
Click on INSERT. This will place the image in the correct place inside the article.

Delete the extra spaces between images and paragraphs. Then save your new article. Repeat the above steps for the remaining images in your article.
TIP: Only add 10 images at a time. If you have more than images, add 10 then click on the SAVE button, then add 10 more.
Then click on VIEW SITE to see how the Home page looks. Your new article will now appear at the top of your Home page.
If we created an article that was not a Featured Article, we would need to create a menu item for our article in the main menu. That topic will be covered in the next chapter.
What’s Next?
Now that we have posted our Welcome article with its images, we will review how to use Libre Draw and Flameshot to create images for our website articles.