
Each article on your website should include what Joomla called a Featured Image. In this article, we will review how to use Libre Draw to create featured images for your web articles.
Featured Image Dimension Options
The ideal ratio for featured images is about three to two. We have previously explained that to make website pages more readable and to allow for side by side editing, we use a boxed fixed width layout with a maximum width of 960 pixels. After subtracting for margins and padding on both sides, the actual column width is less than 900 pixels. This means that our full article featured images do not need to be more than 900 pixels wide by 600 pixels high.
We may also need smaller thumbnail images depending on the number of columns that are being used in any given layout. Here is a table explaining this ratio of Column Numbers to Image Width and Height:
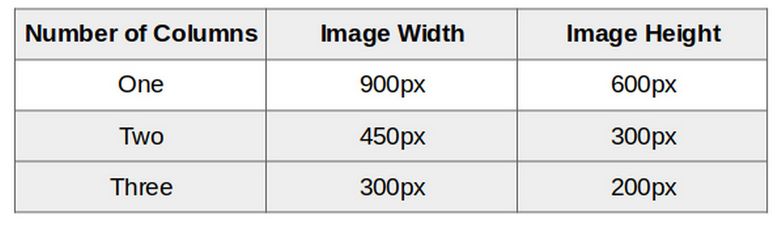
The smaller images are called Thumbnail images. We will first create our Featured Images to be about 900 pixels by 600 pixels. We will then resize each of them to create our thumbnail images.
Create Your Libre Draw Canvas
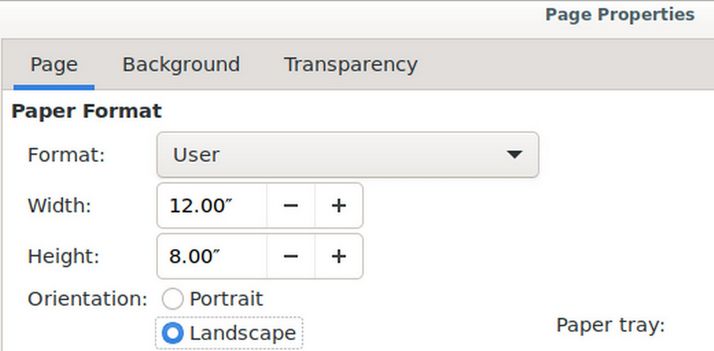
Open a new Libre Draw document. Then click Page Page Properties. Assuming Libre Office is set to English US, the default page is set for Letter with a height of 11 inches and a width of 8.5 inches. Firs change the Orientation to Landscape. Then increase the width to 12 inches and reduce the height to 8 inches.
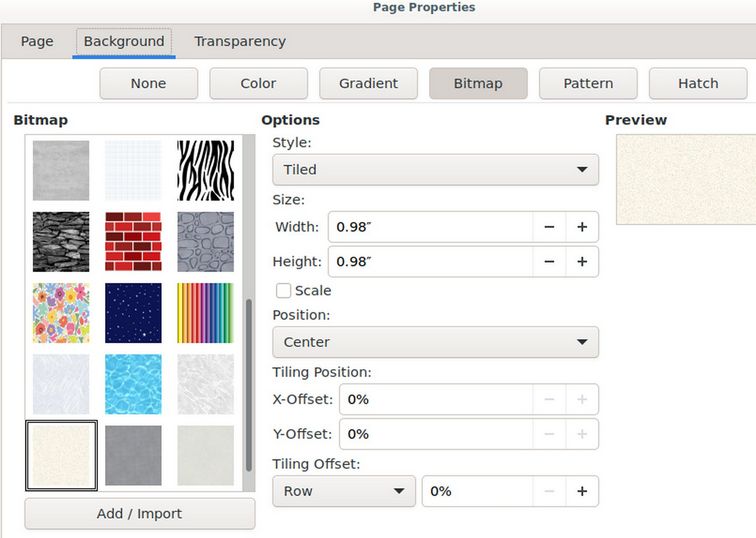
Then click on the Background and choose a background color. I commonly set the background color for Light Gray (#eeeeee). However for this example, click on Bitmap. Scroll down and select Sand Light (note you can add your own background images here)
Then click OK. Then save the image in your website images folder as Libre Draw Example (or whatever name you want).

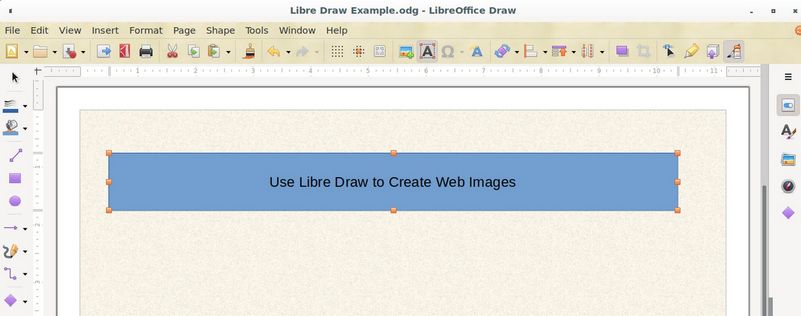
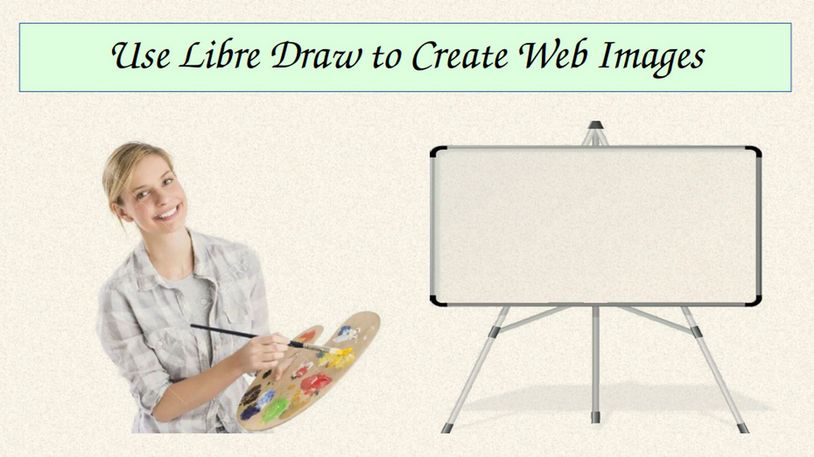
Then click on the rectangle on the right and drag it in the canvas to create a text box. Then type Use Libre draw to Create Web Images:
Select the Text Box. Then click Properties in the right column:
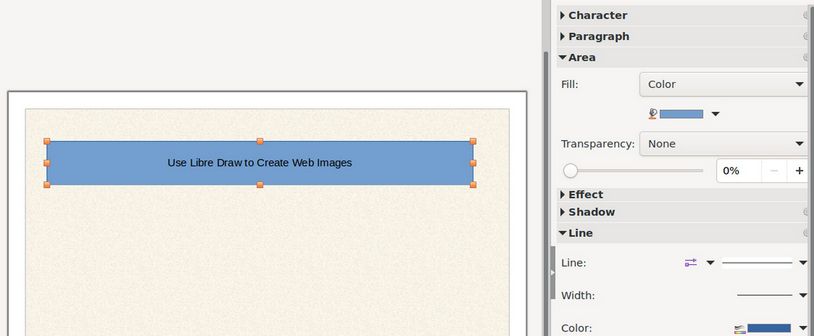
Click the blue Fill Color box to bring up the color selector:
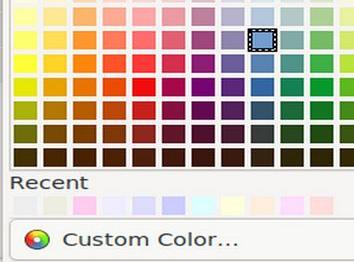
Click Custom Color and change the hex number to ddffdd:
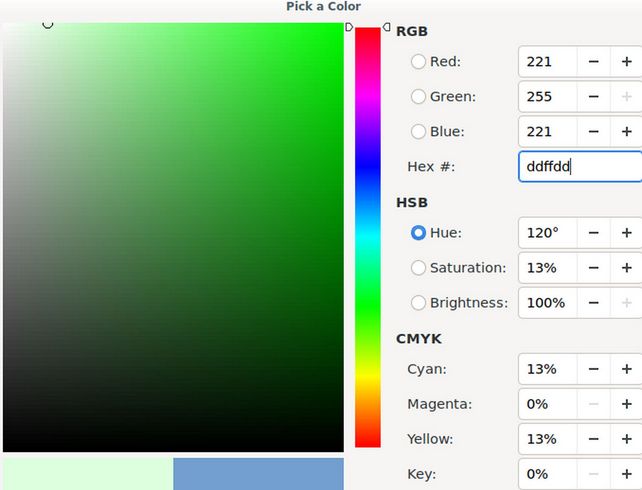
Then click OK. Then select the color to fill the text box:
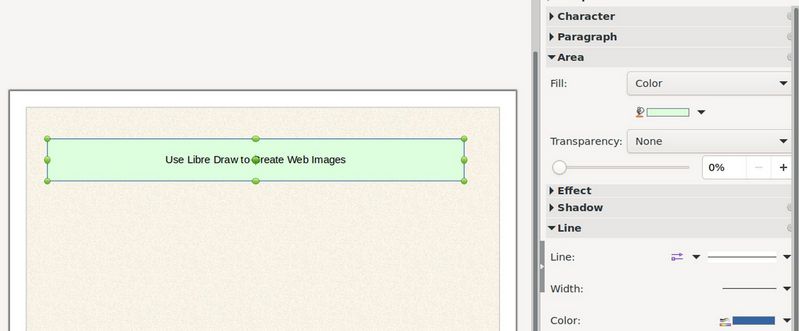
Next, select the text. This will open Character Properties. The default font family is Liberation Sans and the default font size is 18 pt. Change the font family to z003 which is the last option in the Libre Writer Font Family Drop down. Then increase the font size to 40 pt.

Close the Properties screen.
Search for Images with one color backgrounds
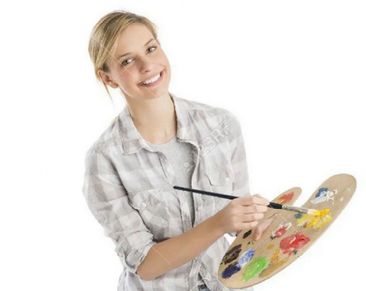
Search for an image of an artist with paint brush and palette. The image should have a one color background so we can turn the color into a transparent PNG.
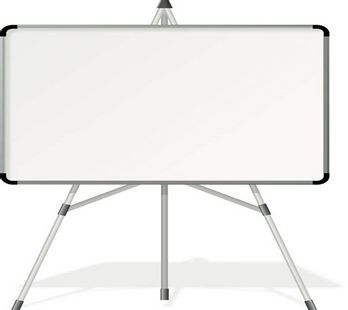
Also search for an image of a white board with a single color background:
Save the images as png files
Right click on each image and click Save. Save the first image as artist.png and the second image as white-board.png.
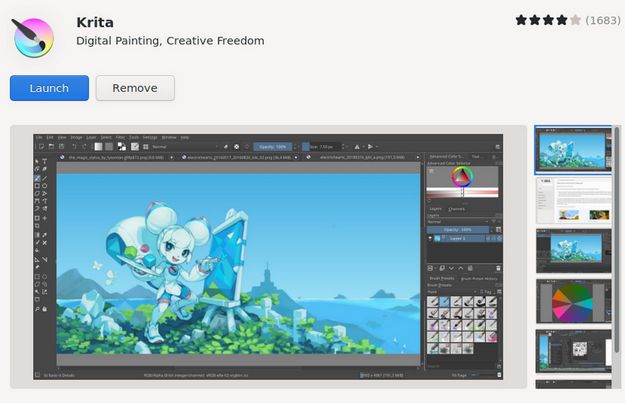
Download Krita
Open the Debian Software Manager and search for Krita. Then click Install.
Use Krita to Create Transparent PNG Images
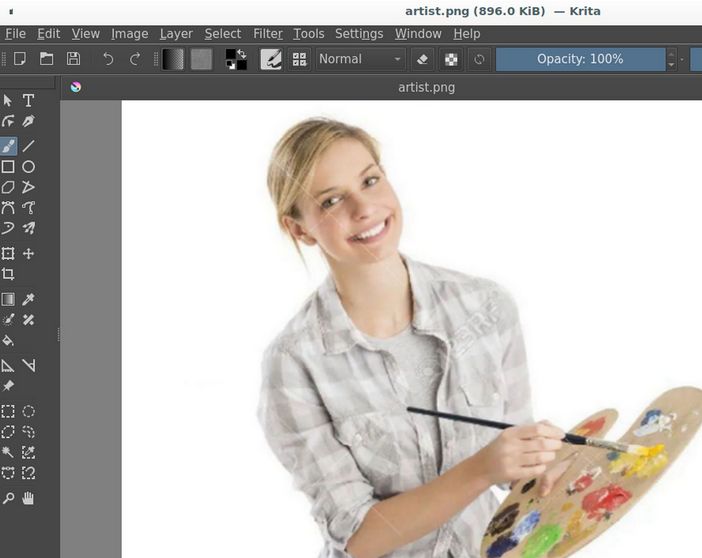
Open Krita and click File Open. Select and open the artist.png file.
Click Filter, Colors, Color to Alpha.

Reduce the threshold from 100 to 20. Then click OK. Then click File, Save As and rename the file to artist-t.png. Click Save.
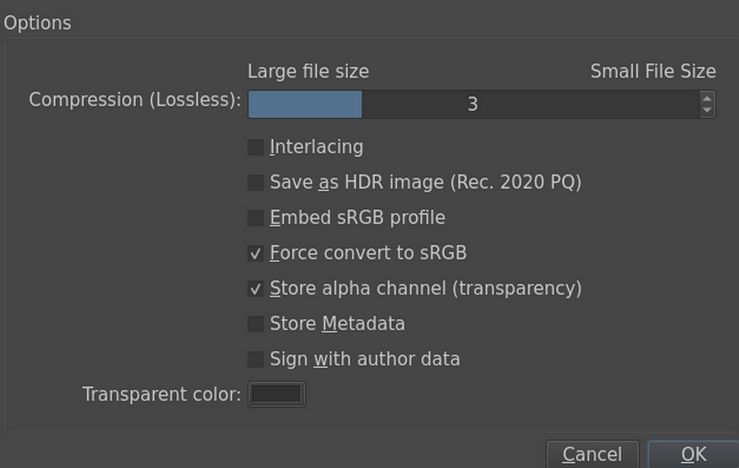
Click OK. Then repeat to create a transparent PNG of the white board. Then open your file manager and copy paste both images into your Libre Draw document:
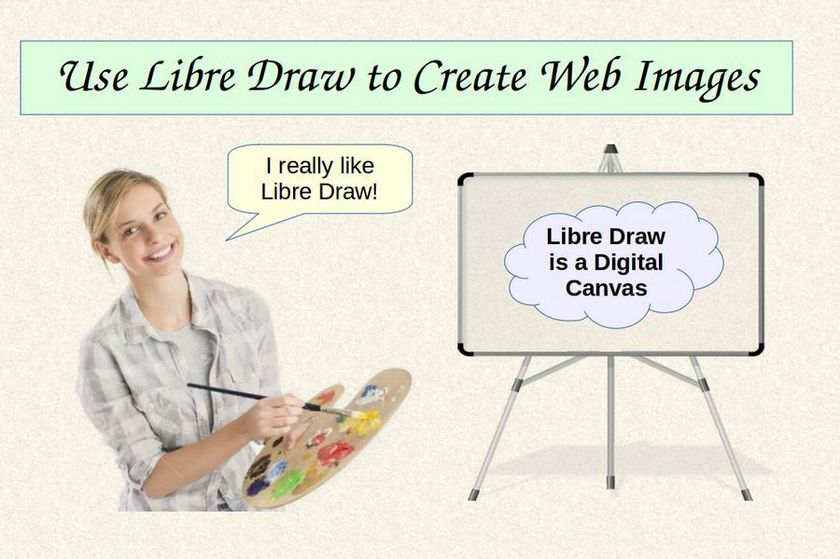
Add a cloud and text to put on the white board and add a Call Out and text to put near the artist:
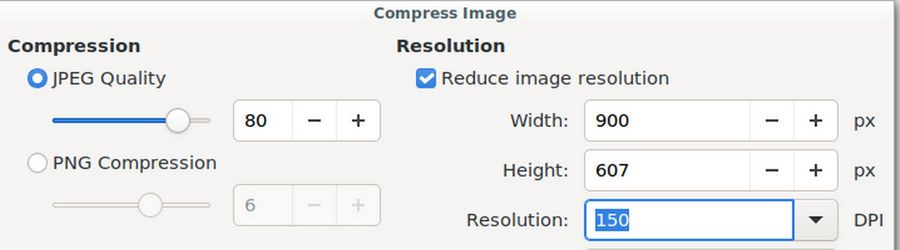
Click on View to uncheck the Status Bar and the Ruler. Then increase the width of the Libre Draw window to take up most of your Desktop. Then use Flameshot to copy the image – starting from near the upper left corner and dragging to the lower right corner of the Libre Draw work space. Then paste the image into a Writer document. Right click on the image and compress it to 150 DPI.
Then save the compressed image as libre-draw-example.jpg. Then save and close the Libre Draw document.
Resize and Crop your Image
The above image is set for a width of 900 pixels and a height of 607 pixels. We need to crop the height of this image 7 pixels. So start Gthumb (available from the Debian Software Center if it is not already installed) and then open your image file. Click on the Edit Icon (paint brush) in the upper right corner.
If the width we not already set for 900 pixels, we could resize it to make the width 900 pixels by clicking on the resize icon in the lower right corner. But since the image only needs to be cropped, click on the crop icon which is next to the resize icon. Then click on the Maximize button:

Crop the height to 600 pixels. This will take 6 pixels off the button, which in this case is what we want. But if you wanted some of the pixels to be taken from the top, click on the Position Plus sign.
Save the Image with a File Name that includes its width
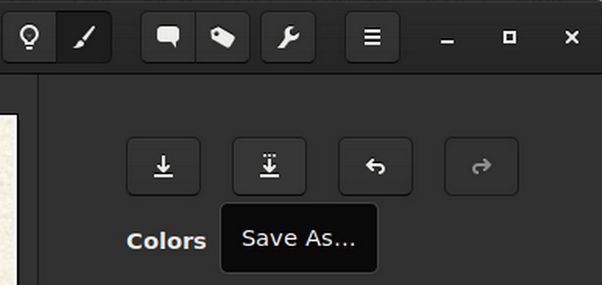
Then click Accept. Then click the Save As button which is near the upper right corner:
Change the name to libre-draw-example-900. Then click Save.
Create Two Thumbnail Images
While we are here, we will use libre-draw-example-900 (which is already open) to create two thumbnail images. Click on Resize. Reduce the width to 450 pixels. Then click Accept. Then click Save As and change the name to libre-draw-example-450. Then click Save.
Click Resize again and reduce the width to 300 pixels. Then click Accept. Then click Save As and change the name to libre-draw-example-300. Then click Save. You can now close Gthumb.
Congratulations! You have created your first Featured Image and two thumbnail images. You are now ready to add these to your Libre Writer document. We will cover this in our next article.
More Tutorials on Creating Images, Charts and Graphs
Here are links to 4 more tutorial I have written explaining how to use Libre Draw, Libre Calc and Libre Impress to create charts and graphs:
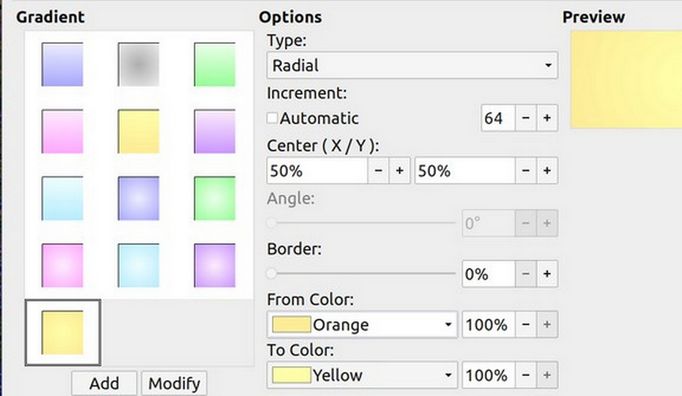
Create Custom Colors and Gradients
https://betterwordprocessing.com/part-3-formatting-complex-documents/11-how-to-create-charts-and-graphs/11-1-create-custom-colors-and-gradients
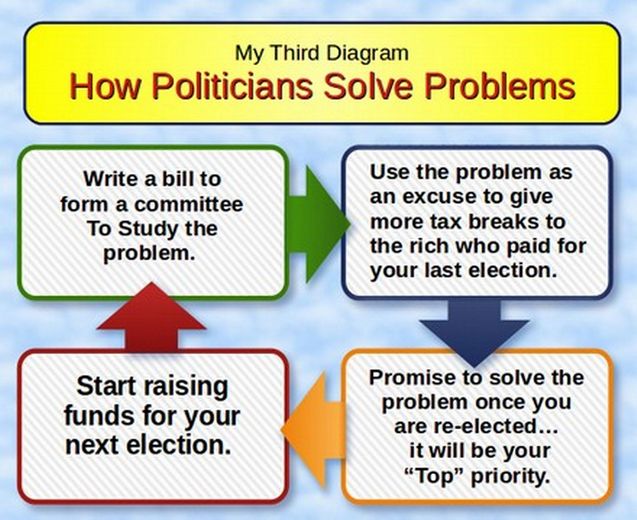
Create a Diagram with Libre Draw
https://betterwordprocessing.com/part-3-formatting-complex-documents/11-how-to-create-charts-and-graphs/11-2-create-a-diagram-with-libre-draw
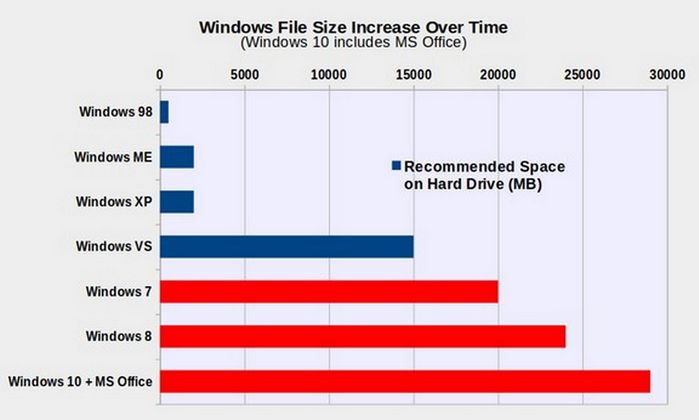
Create a Chart with Libre Calc
https://betterwordprocessing.com/part-3-formatting-complex-documents/11-how-to-create-charts-and-graphs/11-3-create-a-chart-with-libre-calc
Create a Presentation with Libre Impress
https://betterwordprocessing.com/part-3-formatting-complex-documents/11-how-to-create-charts-and-graphs/11-4-create-a-presentation-with-libre-impress
Once you finishing following these examples, you should be able to make whatever custom images you want for your website!
What’s Next?
In our next article, we will review how to add Featured Images to your Libre Writer articles.