
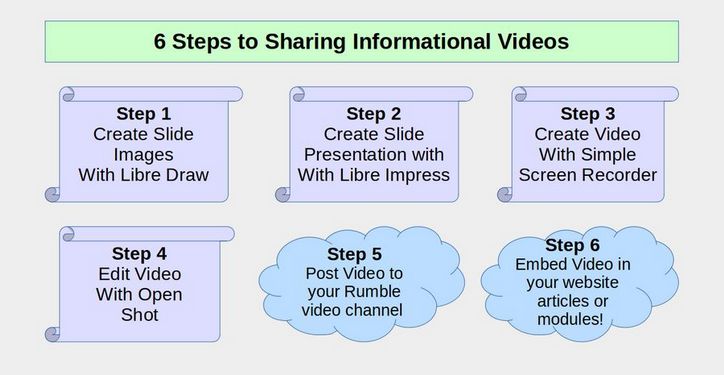
One of the most effective ways to promote your new online business is to create and post informational videos on a business video channel and then embed those videos on your business website pages. There are huge numbers of people who spend their days watching online videos. These videos combine powerful visual images with audio – which can be a combination of music and spoken words. It is easy to embed your business videos on your business website as well as place links to your videos in the comment sections of popular blogs. Here is an overview of this process:
Step 1 Create Slide Images with Libre Draw
In our previous article, 8.1, we explained how to create a series of images for our website Home Page Slideshow. The process is the same for creating images for a video presentation. Use the 12 wide by 6.75 Libre Draw Template for the Page Format. Then add images and text, then capture the images with Flameshot. Then precisely resize and crop the images with Gthumb.
Step 2 Create a Slide Presentation with Libre Impress
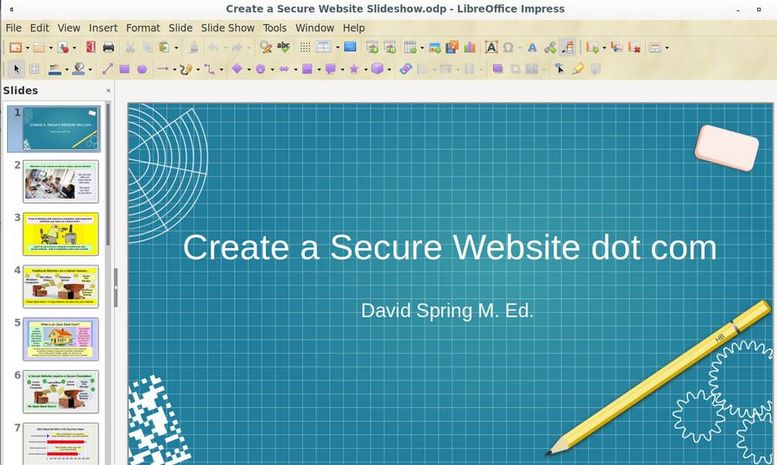
Also in article 8.1, we reviewed how to create a Libre Impress Slideshow with a ratio of 16 by 9 using a Slide Property of 8 inches wide by 4.5 inches high. We will use this same slideshow for our video presentation. But we will add a more interesting slide transition to go from slide to slide during our video. Open the Impress Presentation file:
Then click Slide, Slide Transition.
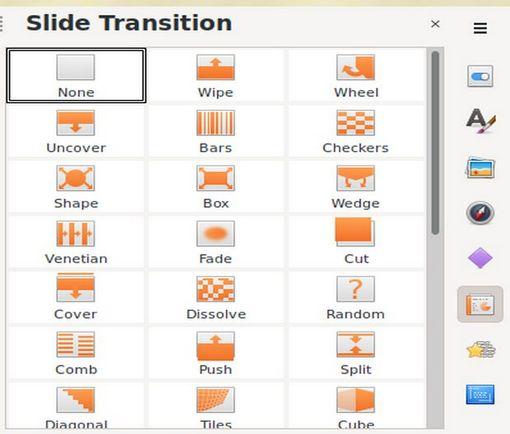
Click Cube. Then click Edit, Select All. Then click Apply to All Slides. Then click File Save. Then close the Transitions panel and close the side bar. Click Slideshow, Start from First Slide to view the result.
You generally want 20 or fewer slides which will allow you to have a video presentation that is less than 10 minutes in length with about 30 seconds to show and discuss each slide. The final slide should show a link to your business website and encourage those who watch the video to go to your website for more information.
Step 3 Record your Video with Simple Screen Recorder
Now that we have our slide presentation, we will use a free tool called Simple Screen Recorder to turn your presentation into a video. Then, we will show you how to create a business video channel and post your business video to your business video channel. Add Simple Screen Recorder by going to the Debian Software Center and typing Simple Screen Recorder in the Search Box. Then click on it. Then click Install and enter your password.
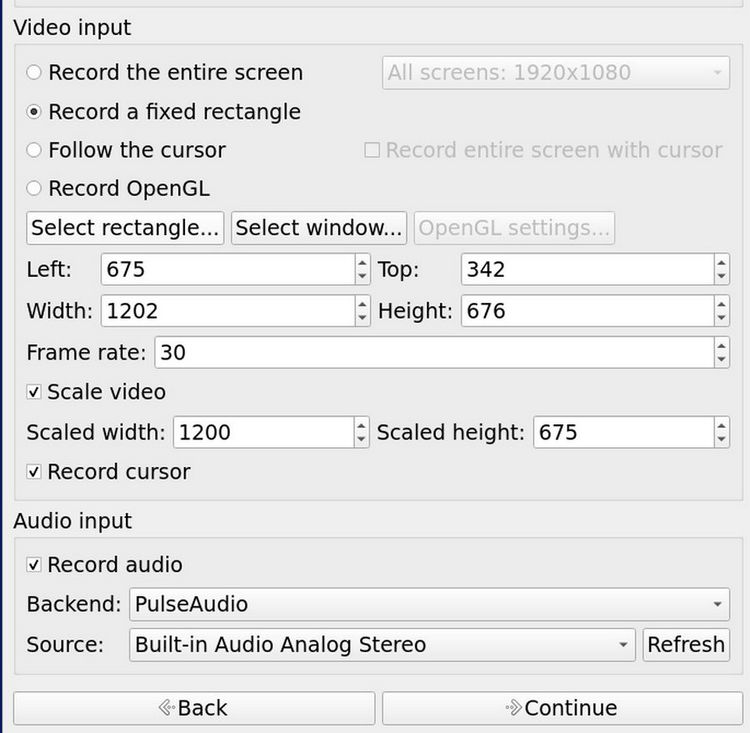
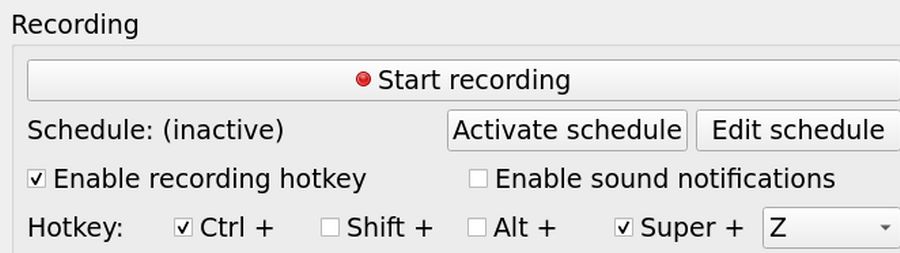
To open Simple Screen Recorder, from the Debian Start Menu, click on Sound and Video, then click Simple Screen Recorder which will bring up a Start screen. Click Continue at the bottom of the screen. This will bring up the second screen:
Open your Impress Presentation and put it in the lower right corner. Click Slide Show, Slide Show Settings and change the Presentation Mode from Full Screen to In a Window. Then click OK. Then click Slideshow, Start from First Slide.
Then change Simple Screen Recorder setting. Click Select Rectangle and select a rectangle around the presentation. Resize the presentation to make the width about 1200. Click Scale Video to make it exactly 1200 by 675. Then click Continue at the bottom of the screen.
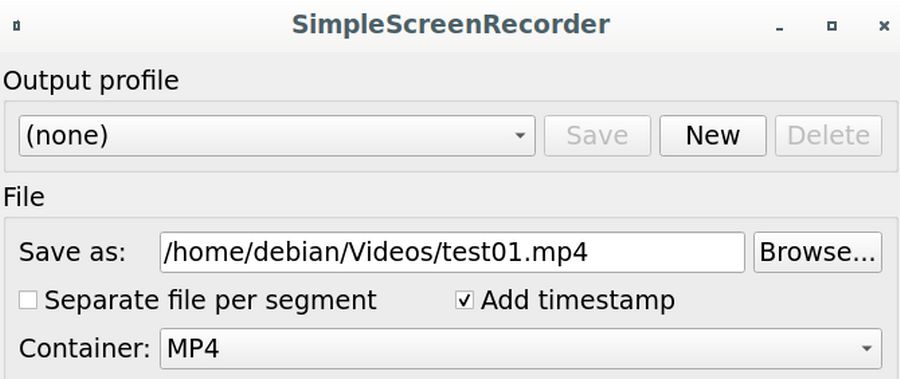
Give your first test video a file name. In the above screen shot, I have given the video the name test01.mp4 and placed it in the Videos folder inside of the debian home folder. You can rename your video later and move it to a different folder later. Make sure the container is set for MP4 and the Audio is set for MP3. Then click Continue at the bottom of the page.
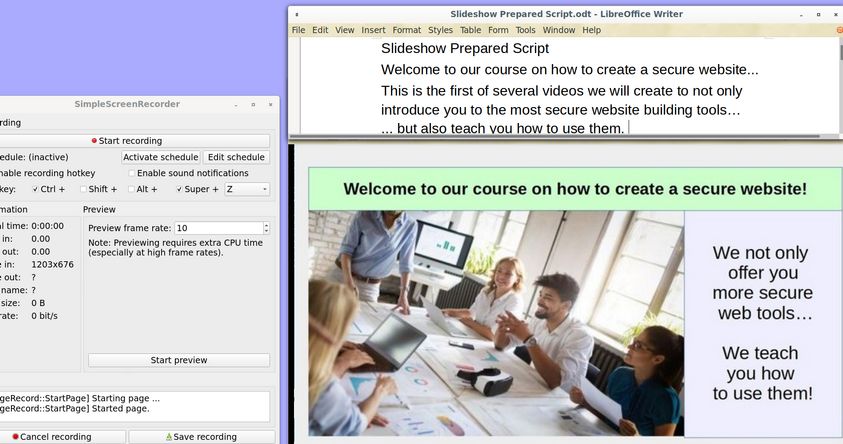
If you want, you can place some Teleprompter text in the space above the slideshow to read from a prepared script. You can do this with a Libre Writer document. It helps if you have typed out what you want to say so that you only need to read your text as you display your images. For example, for the first slide, you might say: Welcome to our video channel….. The reason we start this channel is to show you how you can create your own secure website using free open source tools...
With the teleprompter text above the Libre Impress panel, here is what your Desktop screen should look like:
You can advance the slides by clicking on the screen or by clicking on the right arrow on your keyboard. To start the recording, click on the Start Recording button. Say a few words about each slide. Give each slide about two to three sentences which is about 20 to 30 seconds. Then click on the screen to move to your second slide. When you are done recording, click on Save Recording on your keyboard to stop the video.
Next, before posting your video, you should review it. Open your file manager, find your video file, then right click and click Open with the default video player. It is common to record your video several times to improve the volume level of the recording and the pacing of the recording. If the sound quality is not good, consider getting a headset with a microphone and using that to record your videos.
Step 4 Edit your Video with Open Shot
Open Shot is a free simple open source video editor. You can download it from the Debian Software Center. You can then find Open Shot in the Sound and Video section of your Applications. When you open Open Shot, it will ask if you want to create a desktop file. Click No.
How to use Open Shot to Edit your Video
We will use Open Shot to add a second audio track with background music to our video. Here is the Open Shot opening screen:
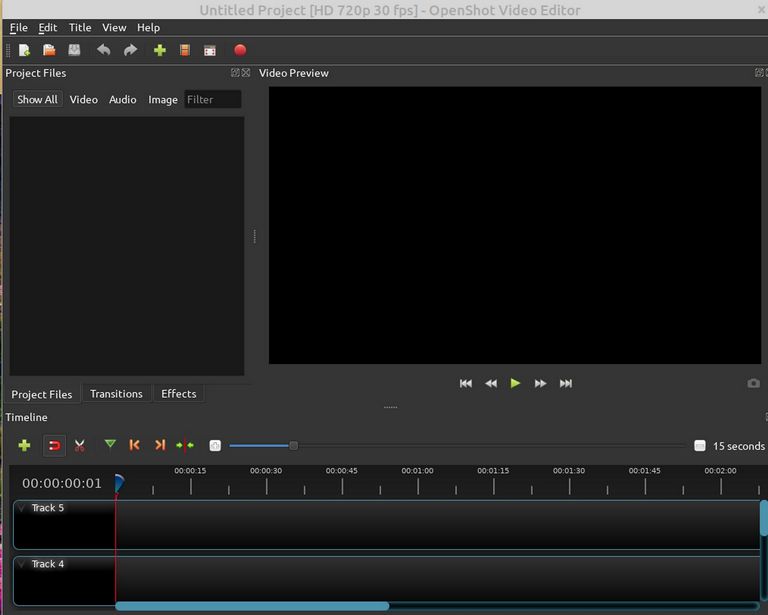
Click File Import Files. Then in your File Manager, find the video you just created and import it. Then click File, Import Files again and find the audio file you want to use and import it.
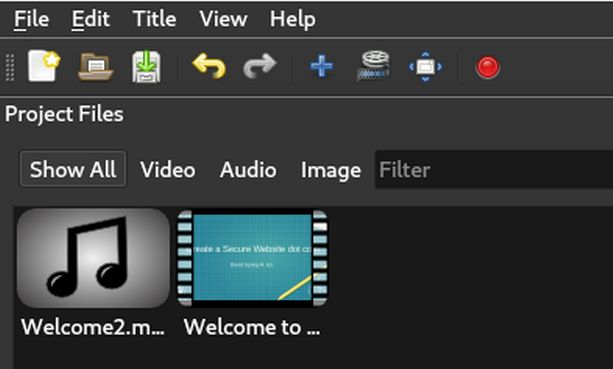
Then click File, Save Project As and name the Project Welcome to our website.
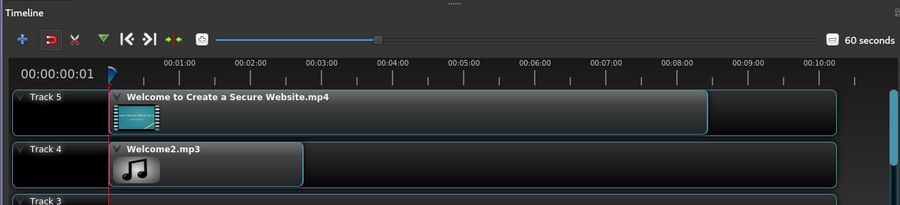
Then right click on the video and click Add to Timeline. Default location is Track 5. Click OK. Then right click on the audio file and click Add to Timeline. Change the location to Track 4. Then click OK. Then on right side of the Timeline row, change the time from 15 seconds to 60 seconds.
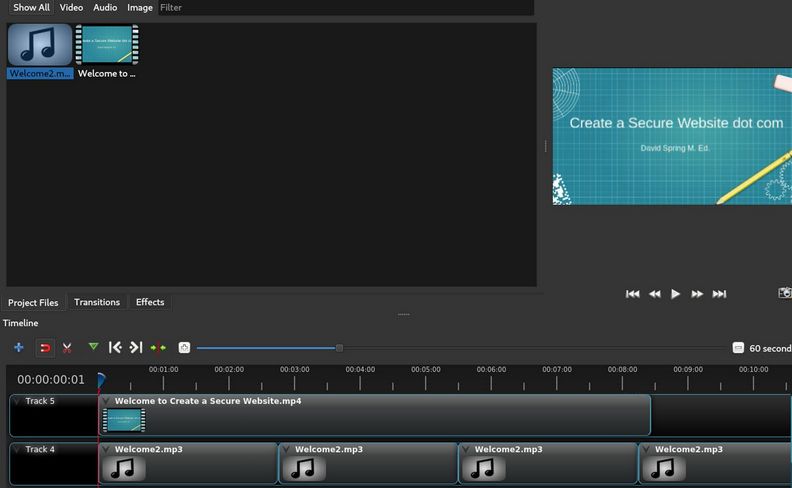
The video file is 8.5 minutes long. But the audio file is only 2.75 minute long. Therefore, move the red line to the end of the audio clip and add a second copy of the audio clip. Repeat moving the red line and adding copies until the audio on Track 4 extends past the video. Here is what the entire screen now looks like:
Reduce the Audio Volume
Play the combined video plus Audio by clicking on the play button. The audio on Track 4 is likely to be much louder than your voice from the video on Track 5. Click on the first audio file in Track 4 to select it. Then right click and click Volume, Entire Clip, Level 10%. Repeat for the other audio tracks. Then play the combined video again. Once the sound level is set Save the project.
If you need to edit out any part of the video, click on the scissors and place it on the timeline where you want to make the cut. Click and it will turn the video into two parts. Right click on the part you want to delete and click Delete. Then click File, Export Project, Export Video. Name the file, Finished Video 01. Use the default settings and click Export Video.

For now, we will leave all of the settings at their default values. Change the file name so it is different from the Imported file name. Then click Export Video. It will take a couple of minutes to export the video. Then open the video in your file manager and verify that the sound is what you want.
Step 5 Create Your Business Video Channel
Once you have a business video you like, you are ready to create your own video channel and post your video to your channel. In the past, we have used YouTube for video hosting. However, YouTube extreme censorship policies as well as their data mining practices have led us to seek out a platform that is more respectful of your rights as well as the rights of your viewers. Therefore, we now recommend a video hosting platform called Rumble. Just go to this link: https://rumble.com/
Then in the upper right corner, click Sign In.
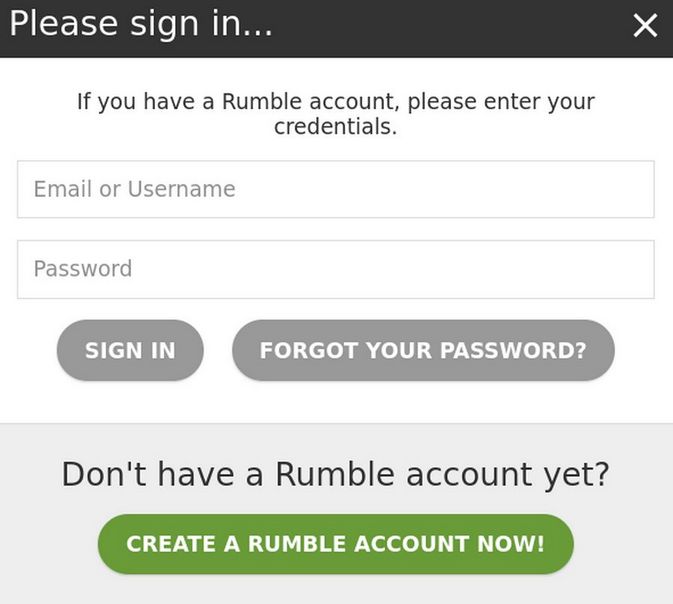
Click Create a Rumble Account
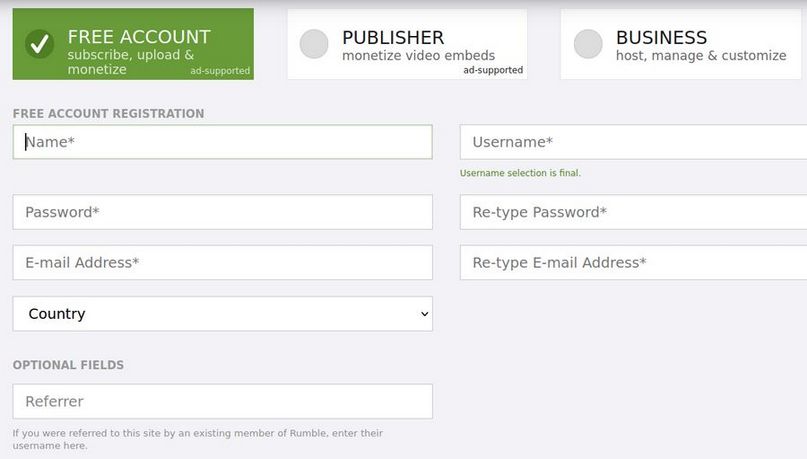
Use your real name and create an account password. Your account name is different from the name of your Video Channel. In fact, you can have several video channels under the same account name. In the referrer box, feel free to type in davidspring.
One your account has been confirmed, log in and click on Account Overview. Then scroll down and click Create a Channel:
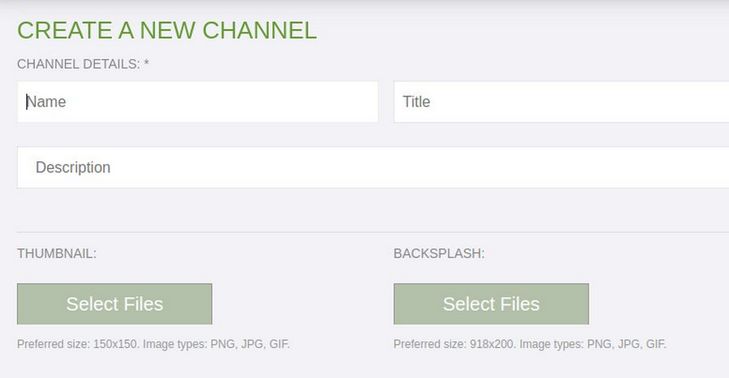
For name, enter the name of the channel with no spaced. The name you choose here will determine your URL. If you name your channel "MyRumbleChannel" your channel's link will be "Rumble.com/MyRumbleChannel".
For Title, use the same name but with spaces between the words. For example, if your title is "My Rumble Channel" then other users will see My Rumble Channel.
Add Thumbnail and Back Splash Images
The Thumbnail should be 150 x 150. Here is our thumbnail:

The back splash should be 918 x 200. Here is our back splash image (taken from our website header image).

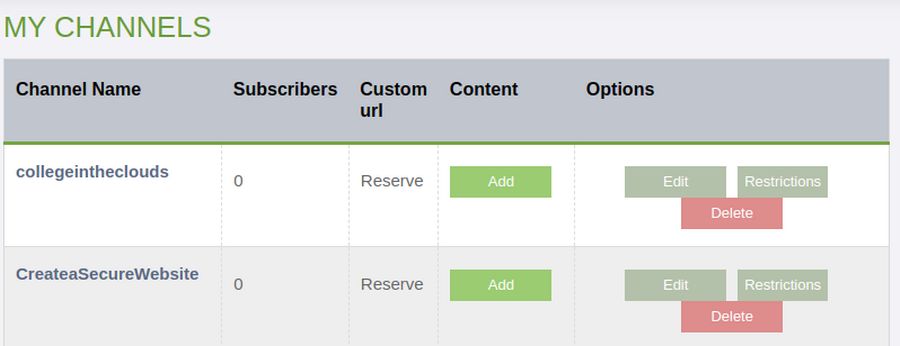
Then click Create. Here are our two channels:
Post your Business Video to your video channel
Then in the upper right corner, click on the video add button. Then click on the up arrow to find and load your video. While the video is loading, type the title into the Video Info box. Then type a short description into the Video Description box. The thumbnail images will be generated from the video. You can also click on Choose your own to upload your own thumbnail image. Scroll down to add tags such as linux, joomla, website. Then in the Upload to box, choose the channel you want to post this video on. Then wait for the video to finish loading. Then edit the video to add a custom thumbnail image.

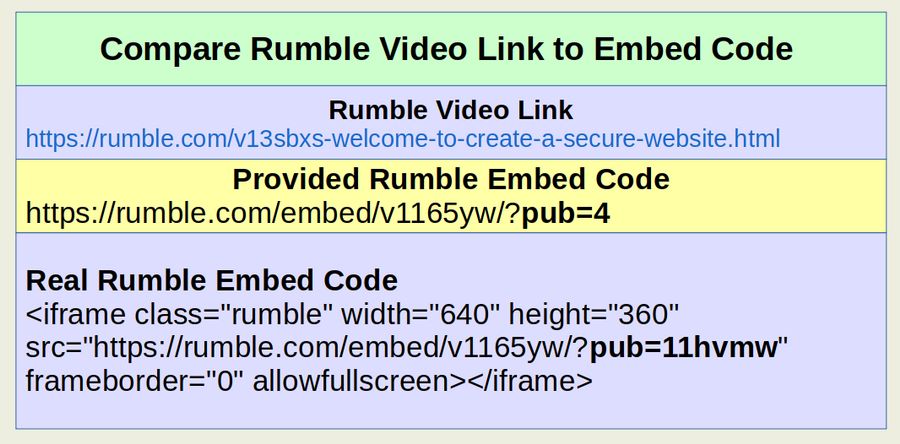
Then click Upload. This brings up the License options screen. Click Rumble Only to retain your right to remove the video if you want in the future. Then scroll down and check the two boxes. Then click Submit. Then copy the Direct Link:
https://rumble.com/v13sbxs-welcome-to-create-a-secure-website.html
Here is the real Embed code we were given after the video was loaded:
<iframe class="rumble" width="640" height="360" src="/https://rumble.com/embed/v1165yw/?pub=11hvmw" frameborder="0" allowfullscreen></iframe>
However, if you go to the link and click on the Embed button, here is the embed code that was provided:
https://rumble.com/embed/v1165yw/?pub=4
Ironically, if we replace the pub=11hvmw with pub=4, the video still embeds properly. But beginners are unlikely to know that they need to add a bunch of HTML around the Rumble provided embed code.
<iframe class="rumble" width="640" height="360" src="https://rumble.com/embed/v1165yw/?pub=4" frameborder="0" allowfullscreen></iframe>
Another drawback of Rumble is that there does not appear to be a way for us to assign our video to a category. But the quality of Rumble videos is substantially better than other YouTube alternatives such as Bitchute and Odysee. So we will stay with our Rumble channel and deal with the embed code problems.
Step 6 Embed your video into your business website Home page.
Many visually oriented visitors to your website will have a better experience if you add a few videos to each web page. These videos can be placed in modules above or below articles. Or they can be embedded directly into articles. We will first review how to embed a video into an article and then explain how to embed a video into a module.
Embed a Video into a Joomla Article
An easy way to add a video to an article is to add a link to a video that you or someone else has posted on a video hosting platform such as Rumble. Here again is the link to our Create a Secure Website Welcome article:
https://rumble.com/v13sbxs-welcome-to-create-a-secure-website.html
The drawback of using a link is that when your website visitor clicks on the link, they will be taken away from your website. It is therefore better to embed the video inside of your website article or module.
Here is the Rumble provided embed code for our Create a Secure Website Welcome video:
https://rumble.com/embed/vw2172/?pub=4
Here is the actual embed code:
<iframe class="rumble" width="640" height="360" src="https://rumble.com/embed/v1165yw/?pub=4" frameborder="0" allowfullscreen></iframe>
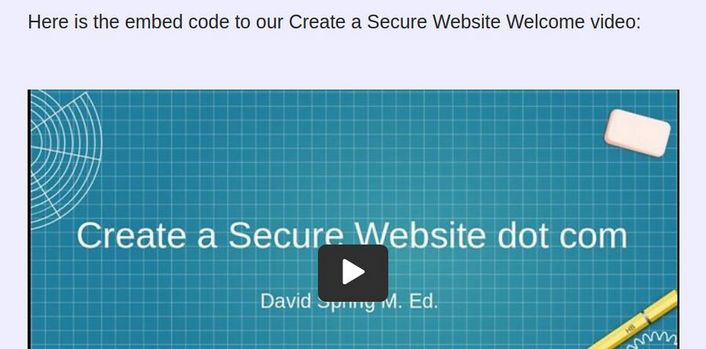
To insert the video embed code into your article, first enter a couple of blank lines where you want the video to go. Then click on Code button that is just above the editor. I have added a couple of blank lines to make it easier to see where we want to place the embed code. Click on the Editor button to switch back to the Editor view.
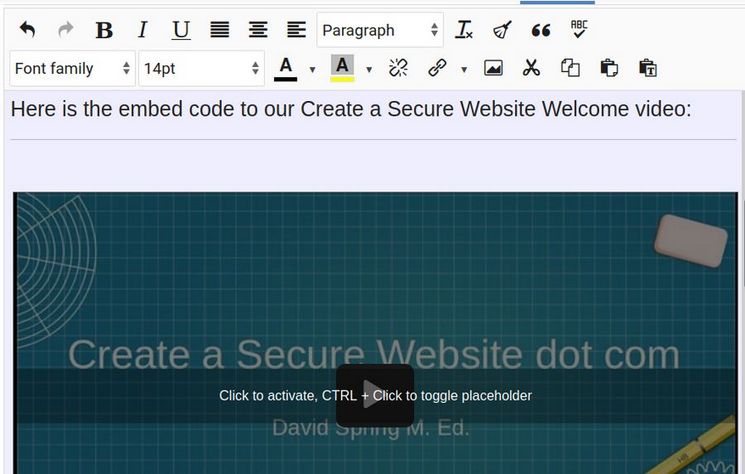
Then click Save to Save the changes. Here is what the videos on the Home Page now looks like:
Add a Video to a Joomla Module
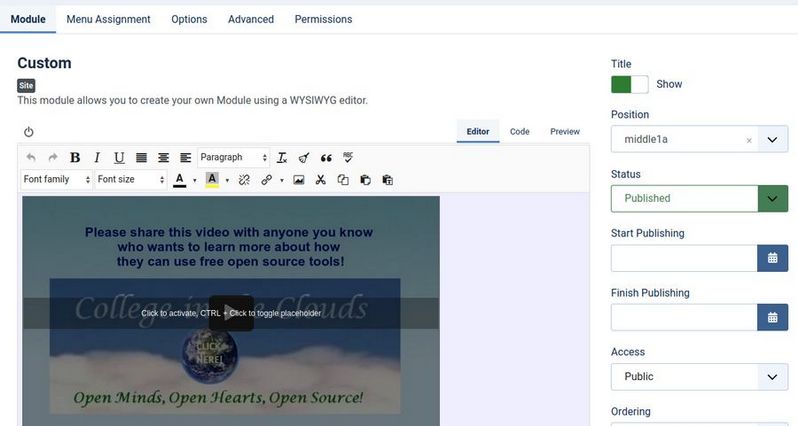
Go to Content, Site Modules and click New. Then add a new custom module. Give your module a title such as Welcome to College in the Clouds Video. Leave the module title set for Show and set the module position for Middle1a which is just below the Main Content Area. Click on Menu Assignment and assign it to only appear on the Home page. Then click the Code tab and copy paste this embed code:
<p><iframe class="rumble" src="https://rumble.com/embed/vw2172/?pub=4" allowfullscreen="allowfullscreen" width="640" height="360" frameborder="0"></iframe></p>
Then click Save and change the tab back to the JCE editor:
Then click Save and Close and view the result at the bottom of the home page. Here is our College in the Clouds Welcome video that has been embedded into a Joomla module:
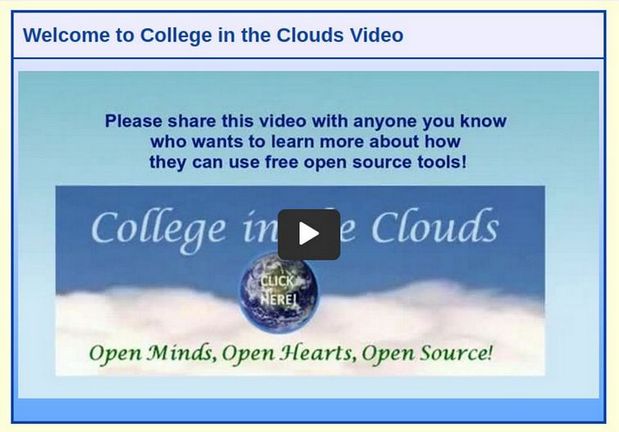
You can see that adding a video to either an article or a module is simply a matter of finding and copying the embed code. Then creating a space for the video. Then click on the Code View tab and add the embed code. Then check that the video plays on your website front end.
What’s Next?
In our next article, we will review how to add an email newsletter.