
In the previous section, we described how to post Featured articles to your Home page, how to create a Category Blog Menu Item and how to create a Category list menu item. In this section, we will review the other two ways to display articles. These are to create a Single Article Menu Item under a Category Menu Item or create a Single Article Menu item and place it in the top level of our main menu.
Create a Single Article Menu Item under a Category Menu Item
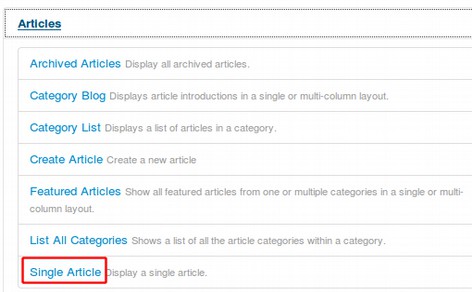
If a single article is not placed as a “Featured Article” on your HOME page and is not assigned to a Blog Category or List Category, it will need a Single Article Menu item in order to be viewed. Single Article Menu Items are generally not placed in the top level menu. In the previous sections, we set up the top level category blog menu items in our main menu. We will now create menu items for single articles, or single pages, which we will then place under those top level categories in the Main Menu. This is done in addition to creating the category blog and/or list menu items. To create a Single Article menu item, click on MENUS, Main Menu to reach the Main Menu. Then click on NEW to reach the New Menu Item screen. Click on the blue Select button to open the Select Menu Item screen. Then click on Articles and select Single Article.
This will return us to the Menu Item Edit screen.
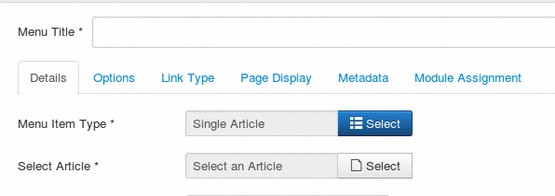
Click on the Grey Select button. This will take us to the Article Manager where we can click on the article we want to associate with this menu item. Note that we first need to make an article in order to select it. You can also give the menu item a title. This does not need to be the same as the title of the article. Ideally the title of menu items should be a shortened version of the title of the article so as not to take up too much space in the main menu or in a drop down menu. Below is what the New Menu Item screen looks like after selecting our first article and giving it a title.

The final task is to place this article menu item as a child menu item beneath the matching category list menu item. This article is in a Category called 01 Startup. So use the Parent Item drop down arrow to select 1 START UP as the Parent Item. Here is what the right side of the New Menu Item screen now looks like.
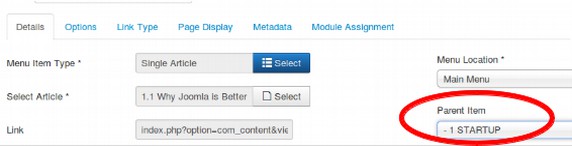
Click on the Parent Item Drop Down arrow. This will bring up all of your existing menu items. You can select any existing menu item to be a parent of any new menu item. It is however unwise to choose an Article to be a parent menu item of another article. Instead, it is much better to have categories be parent menu items of articles. The default setting is Menu Item Root. If you leave a new menu item with this setting, it will appear in the Main Menu as a Top Menu Item.
For the above example, we have selected 1 STARTUP. The Menu Item for the article “Why Joomla is Better than Wordpress” will therefore be placed below the Category List Menu Item called 1 STARTUP.
Create an Article Menu Item & Place it in your Main Menu
Placing an article menu item in the top level of the main menu is the least common option. The main exception to this is a Contact Us page. This page is so important that it is often placed in the Top Level of the Main Menu. To create a new Menu Item to place an article in the Top level of the main menu, first create a short Contact Us article. Then go to the Main Menu and click New. This takes us to the New Menu Item page. Click on Select to bring up the Menu Item Type screen. For menu item type, to display a single article in the Main Menu, click on Articles, then Single Article. This will take us back to the New Menu Item screen. For the Title of the Article, type in Contact Us (or the name of your Article). When you select the Single Article Menu Item Type, Joomla creates a new dialog box below the Menu Item Type box where you can select the article you want to link to this menu item. Click on SELECT which takes us to the Article Manager. Select your article.
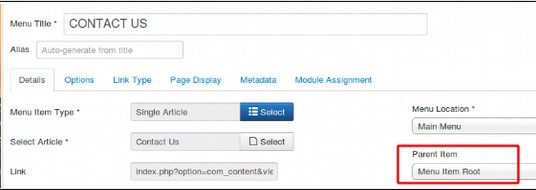
So far this has been exactly like the steps we used to create a Single Article Menu Item to place under a Category List menu item. The only difference is that this time we will place the Single Article Menu Item in the top level of the Main Menu. This is done by using Menu Item Root for the Parent Item.
Add a Background Color to a Top Level Menu Item
To change the background color of a top level menu item to light green, and change the font color to dark green and change the font weight to bold, copy paste this into your custom.css file:
.sp-megamenu-parent .lightgreen {
background-color: #ddffdd;
color: #115511;
font-weight: bold;}
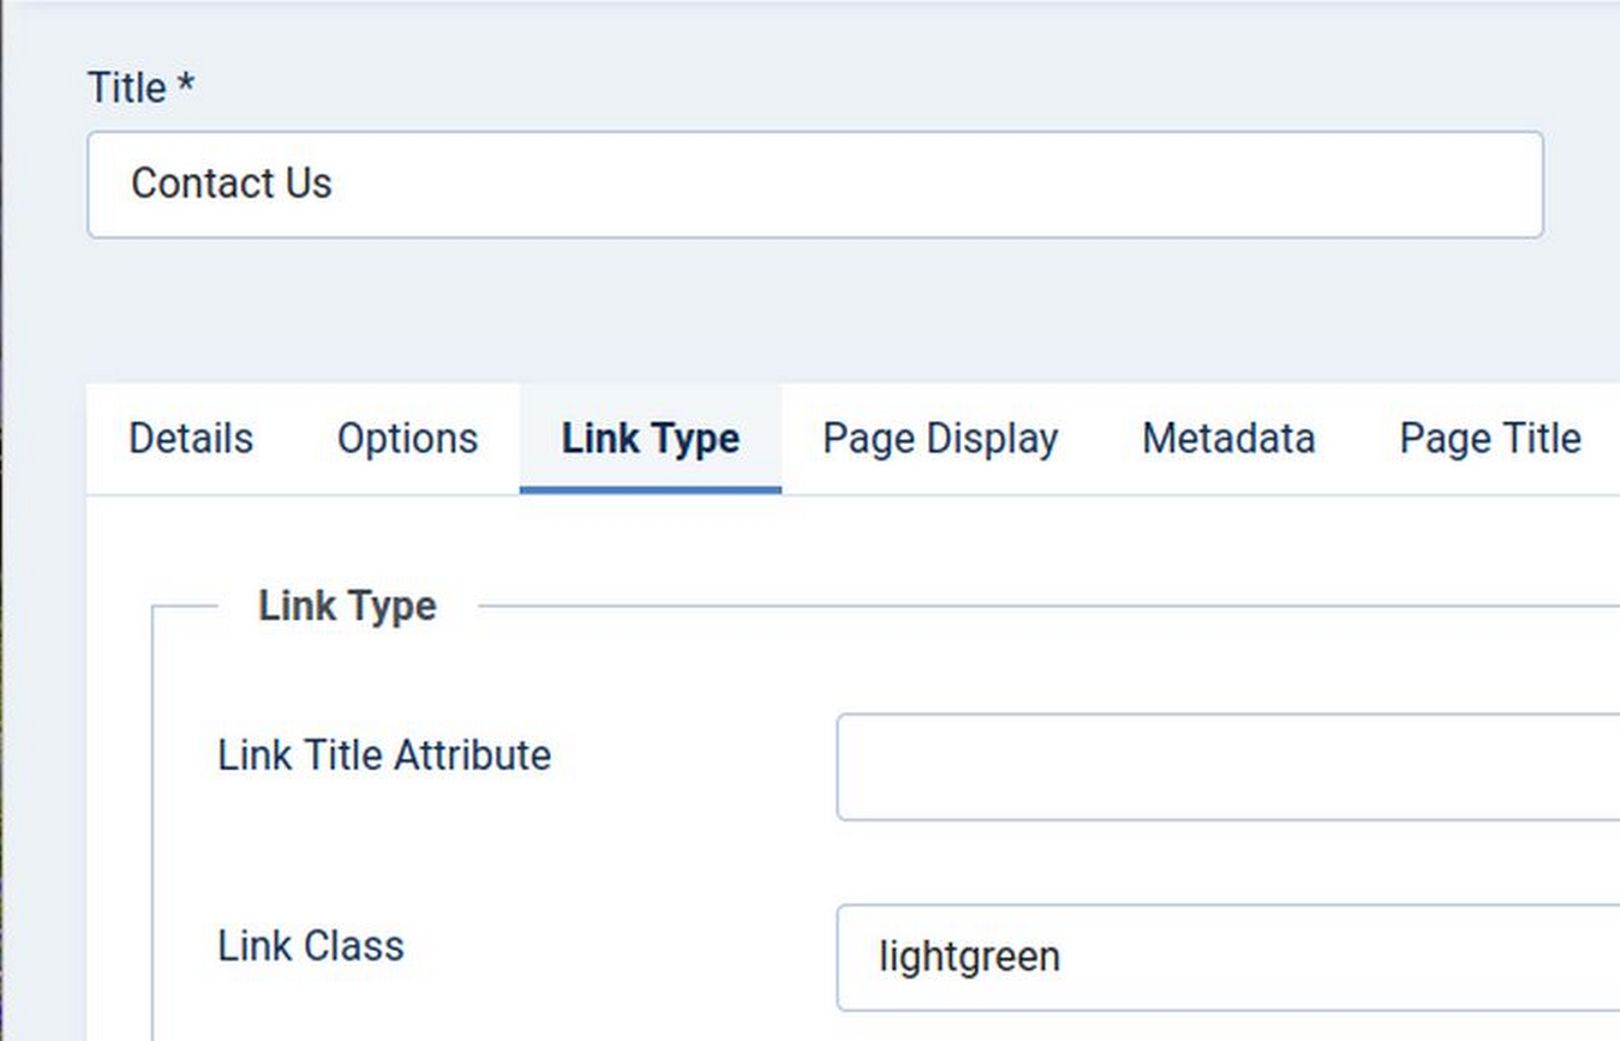
Then go to the menu item and click on it to edit it. Click on Link Type and in the Link Class box, type the class name lightgreen.
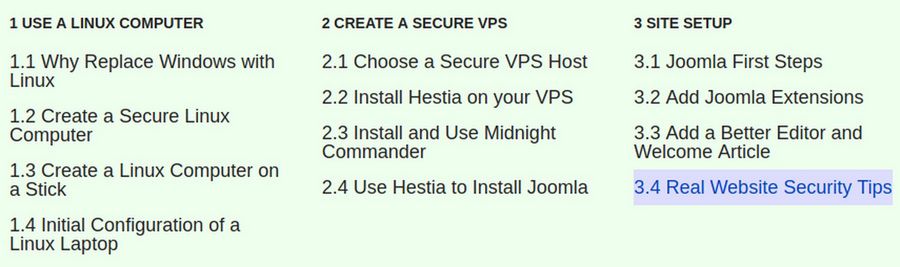
Click Save and Close. Then clear the browser cache and view the website home page:

To change the background color of a sub-menu item to light blue, copy paste this into your custom.css file:
.sp-menu-item .lightblue {background-color: #ddddff;}
Then go to the menu item and click on it to edit it. Click on Link Type and in the Link Class box, type the class name lightblue.
What’s Next?
Now that we have posted our articles and created menu items for them, in the next article, we will review how to divide and link web pages.