
We are living in a knowledge based economy. Word can spread quickly if you are offering important information for download on your website. One way to increase traffic to your website is to offer your visitors the ability to download informative documents. They can then read these documents when they are not online and even print them out to read when they are not on their computer. A download manager also gives you the ability to offer virtual products such as PDF slide shows and PDF tutorials to your readers. In this article, we will show you how to create a well organized Download Manager to help you display and track these download files.
Downloads can be offered on three kinds of pages – those open to the public, those open only to registered users and those pages only open to registered users who have paid a fee and joined a subscription based club. Even if you offer document downloads to your customers for free, you will still want to track how many times each document has been downloaded and where these special documents are on your website.
One of the best download managers is Phoca Download. It is very easy to set up and easy for customers to use because it has a nice appearance which can be customized for your website. It also has a batch uploader for adding several PDF documents at the same time. Here is a direct link to the Downloads page: https://www.phoca.cz/download/category/4-phoca-download-component
Click on the Joomla 4 version Download. Then install Phoca Download with your website Extension Manager.

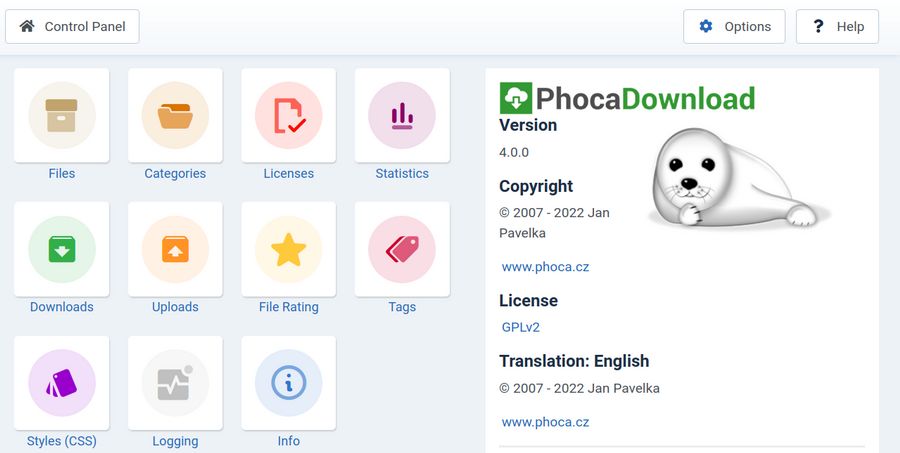
Click Configure Phoca Download. This takes you to the Phoca Control Panel.
Create and Add PDF Icons
It is a good idea to include a PDF icon to let viewers know that they are downloading a PDF. You can get many free icons on the internet. You can use the following image to create your own PDF icons and place them in an icons folder on your Home computer. Just create a JPEG copy of this image and use the Gthumb image editor to create versions of it that are 50x50, 60x60 and 70x70:

Then go to your Media Manager and open the Phocadownload folder. Click Browse and find your Home computer icons folders and add these icons one by one to this special folder.
Create your downloads category folder structure on your home computer
If you have more than a couple of files that you want to allow viewers to download, you should create a category folder structure – similar to how we organized our Joomla articles into an articles category folder structure and how we organized our images into an images folder structure. This is done first by organizing all of your PDFs and other downloads into folders on your Home computer.
We will offer different downloads to different groups of users. The free folder will be for free downloads that do not require registration. The registered folder will be for free downloads for registered users (in other words, for people who have signed up for your free shop newsletter). The club-members folder will be for more detailed downloads which might require a payment in addition to registration.
Use Libre Writer to Create PDF documents
In order to minimize the PDF file size, create documents with optimized images and then use the optimized document to create PDF documents that you want to make available for download. From Libre Writer, select File, Export as PDF. Save the PDFs in a folder on your Home computer called free-downloads:
Phoca Downloads limits the file size of downloads to 3 MB. Since some of our Downloads exceed 3 MB, we will reset this limit to a larger file size.
Create a new user group and access level
Go to Users, Groups. You will see a table showing that Joomla by default already comes with 9 user groups. These groups include Public and Registered. We will create a new group called Club Members.
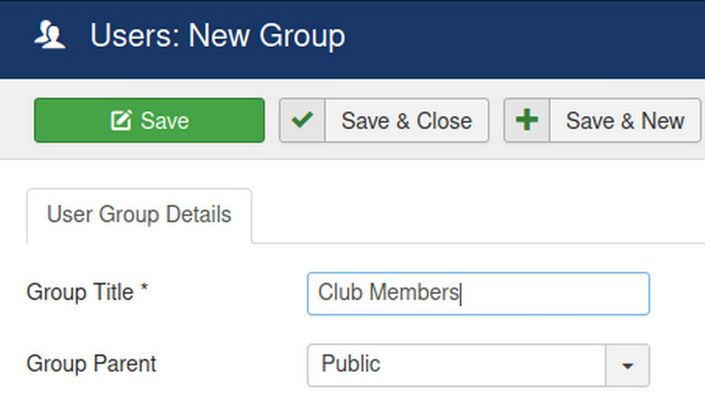
The parent group for this new group is Public. Then go to Users, Access Levels. You will see there are already 5 access levels. Note that groups that can view the Registered Access Level include Registered and also include Managers and Super Users. Click New to create a new Access Level called Club Members. Give the Club Member group access. Also click the super user group to give super users access to Club Member pages.
Create an identical category folder structure in Phoca Downloads
We next need to set up these same three category folders in the Phoca Download Component. So go to Components and click on Phoca Download. Then click on Categories. Then click New.
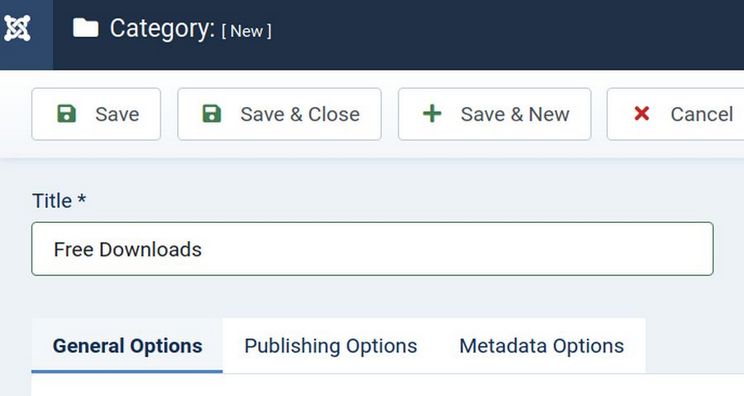
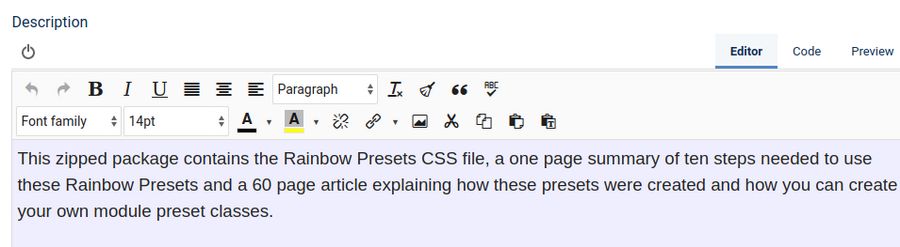
Call the first category Free Downloads. Give the category a title and access level of Public. Then give the category a description:
There is no need to register to download these files. Click on any of the links below to download documents you are interested in. If you have any questions, feel free to contact us.
Then click on the Meta Data Options tab and fill it in.
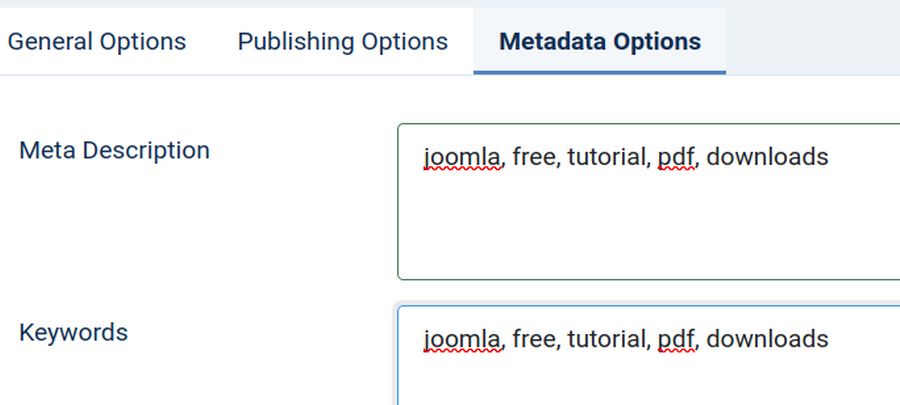
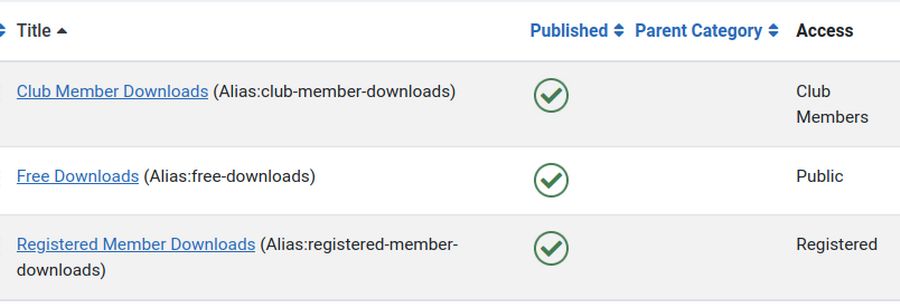
Then click Save and Close. Repeat to create categories for Registered Member Downloads (with Access Level Registered) and Club Member Downloads (with Access Level Club Members).
Add your PDF Files to the Phoca Download folder
Once we have our three categories, we are ready to add our PDF files and other downloads. To add downloads, go to Components, Phocadownload, Files. Then click New. Give the download a title and click Select Category and choose the category you want to put the download in.
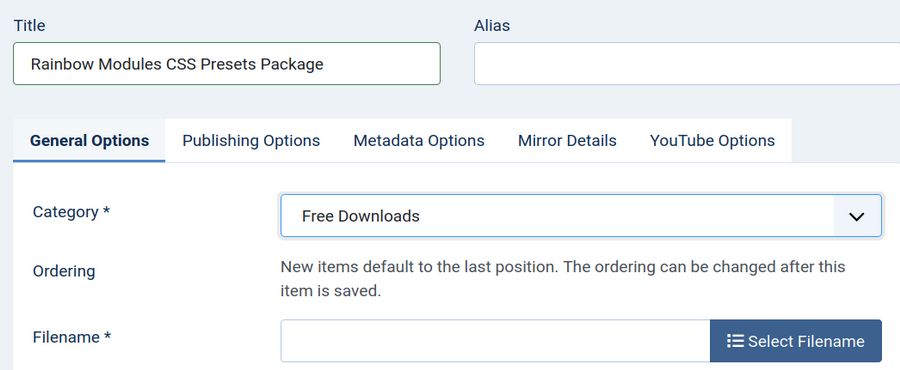
Then to the right of the Filename box, click on Select Filename.
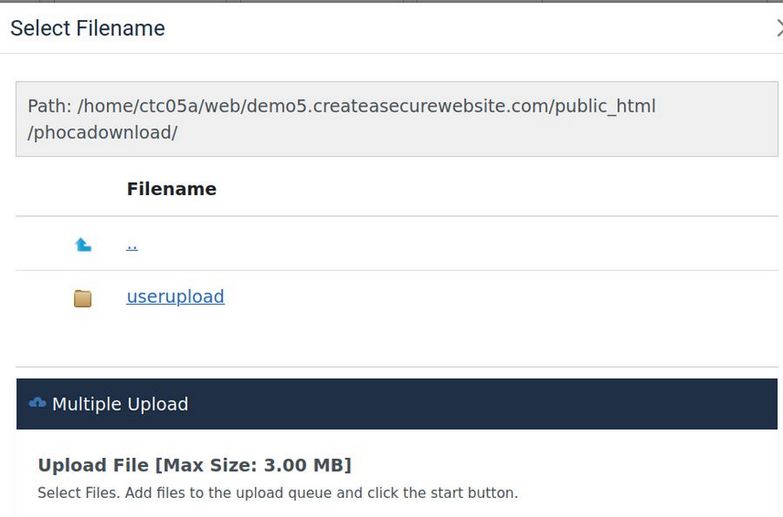
We have a problem here in that file size upload is limited to 3 MB. To change this, close this screen and cancel our new file without saving it. Then click on the Phoca Downloads Control Panel. Then click on the Options button in the upper right corner.
Then click the Uploads tab. By default, Maximum Upload Size for both Users and Administration is set for 3.14 MB. Scroll down to Administration Upload Size and add a 0 after the 3 to raise this to 30.14 MB. Then click Save and Close. You may also need to change the upload settings on your web host server account.
Now go back to the File Upload screen and you will see the limit raised and a Multiple Uploads tab. Click on the Multiple Upload tab. You can now add files up to ten at a time by clicking on Add Files. You will need a high speed connection to load large files and your customers will need a high speed internet connection to download them!
Create folders for each category
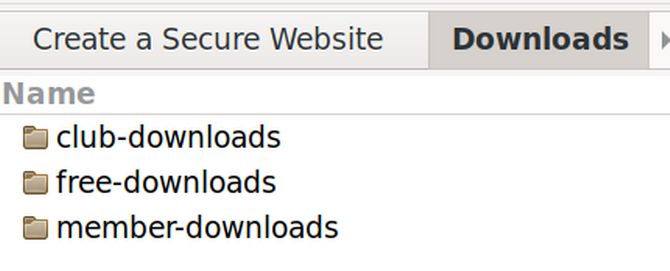
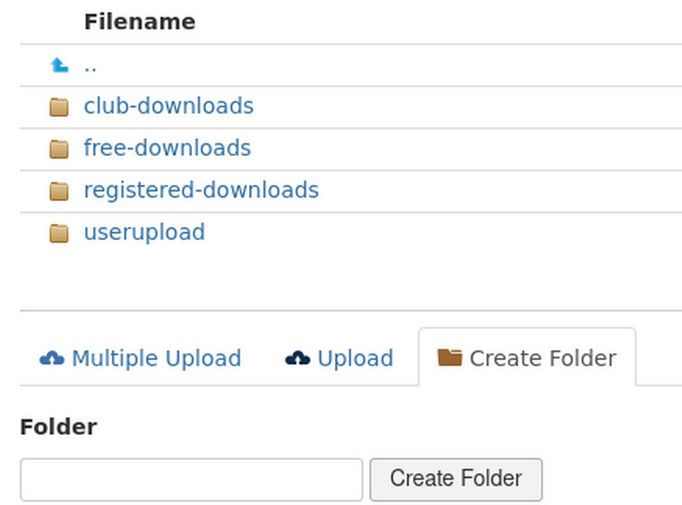
If you have a lot of files, before you upload any files, it is important to create a folder structure here which matches the folder structure on your home computer. We will create folders called free-downloads, registered-downloads and club-downloads. To do this, click the Create Folder tab.

Then enter a folder name in the box and click CREATE FOLDER. Use lower case text with no spaces for your folder names.
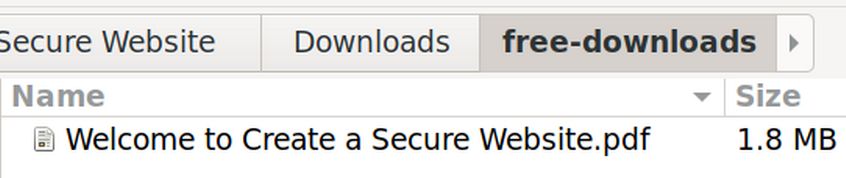
To open the free-downloads folder, just click on it.
Two ways to upload files
To enter files into this folder one at a time, click the Upload tab. Then click Browse. Then browse to the file you want to upload on your computer. Then click on Start Upload. Repeat this upload process for all of the files you want to display. Alternately, you can use the Multiple Upload tab to load more than one file at a time.
Connect your Uploaded Files with Phoca Download
Once all of the files are loaded, we still need to add them to the Phoca Files one at a time. So click on your first file to select it. This will place this file in the File Edit screen Filename box:
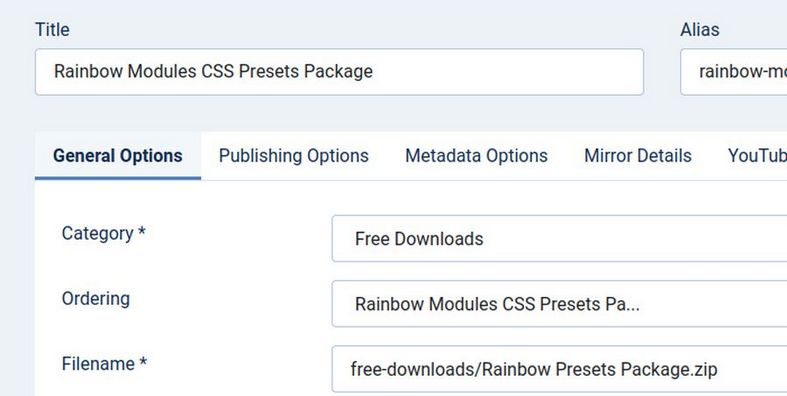
Then scroll down and change Direct Link to Yes. Then enter a description for the file if needed. You can also enter an image here if you want.
Then Click SAVE and CLOSE. Repeat this process for your remaining files.
Things will go much quicker as the folders have already been created and the files have already been uploaded. Each file can be added in under one minute. We now have a list of files.
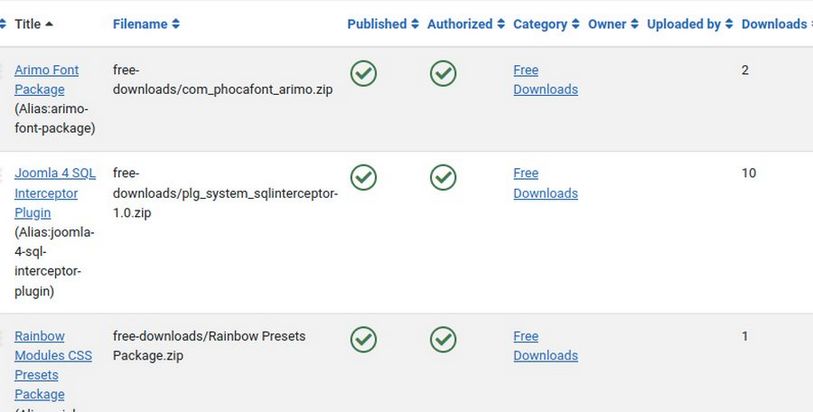
Note that there is a column to keep track of the number of times each document is downloaded. We will next create a page to display our PDF downloads.
Create a Phoca Download Menu item to Display Free Downloads
There are two completely different ways to display downloads with Phoca Download. The first is to use a Phoca Downloads special plugin to insert the download(s) in an article. This only allows a very simple display. It also does not allow you to display the description of the PDF or its file size or any special images or features about the PDF. Because of these problems, we will nearly always display our downloads by creating a menu item for them. This allows a much more detailed appearance of downloads. We will therefore cover this second method which is much better for displaying an entire page of Downloads. To create a new menu item for your Downloads, go to the Main Menu and click NEW. Then click SELECT. Then click Phoca Download:
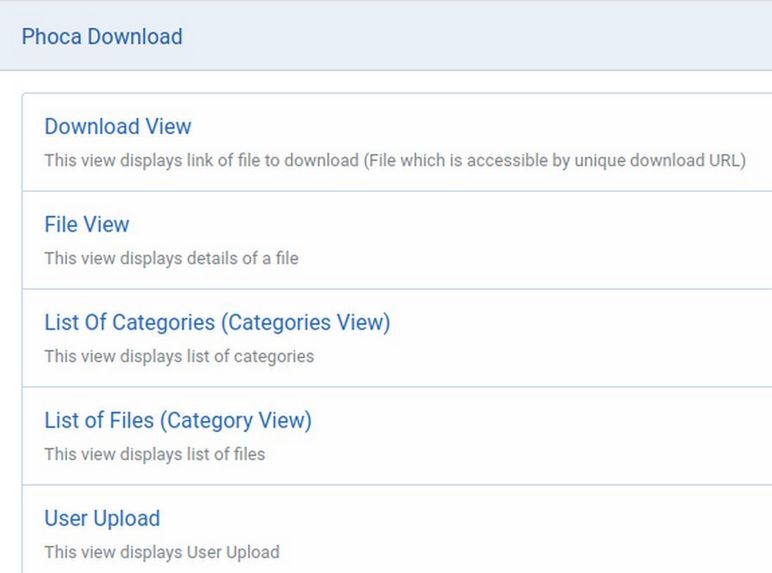
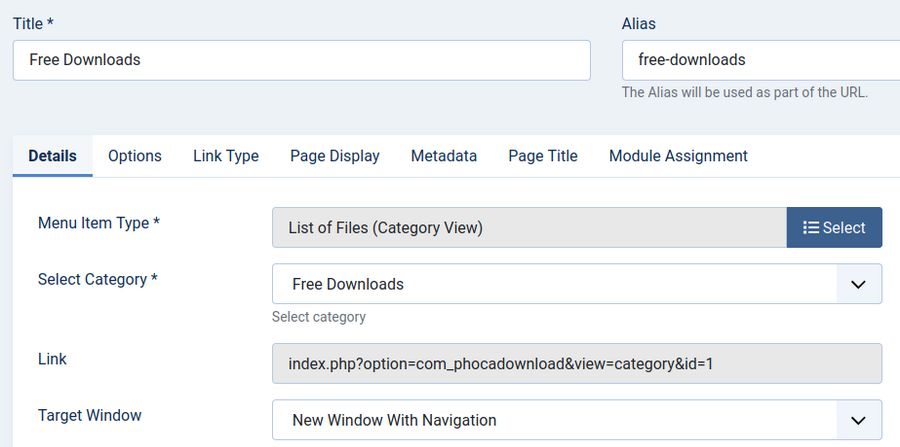
There are three different ways to display downloads with the Phoca Download component. Because our access levels are defined by categories, we want to use the List of Files, Category View. For category, select the Free Downloads. Give the Menu Item a title such as FREE DOWNLOADS. Then click save and close.
Add Menu Items for your Registered Member Downloads and Club Member Downloads
The process is the same as for the Free Downloads Menu Item. But with Registered Member Downloads, in the lower right corner of the Menu Item Edit screen, change the access of the Menu Item from Public to Registered. For the Club Member Downloads Menu Item, change the access of the Menu Item from Public to Club Members.
Then go to the front end of your website. You will not see the Registered or Club Member Downloads Menu Items unless you are logged in. Click on the Free Downloads menu item in the front end of your website to view the Free Downloads file table.
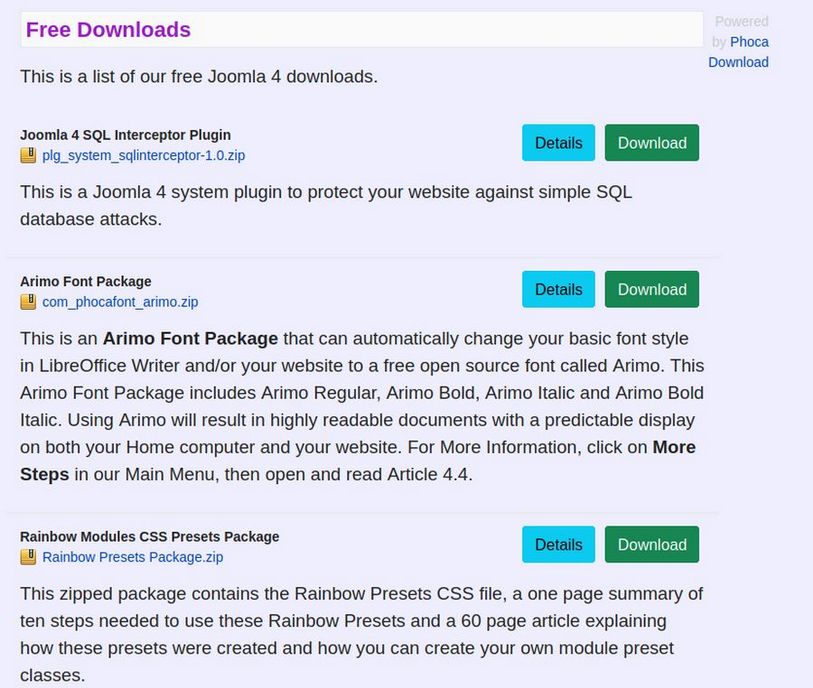
Adjust the appearance of your menu item:
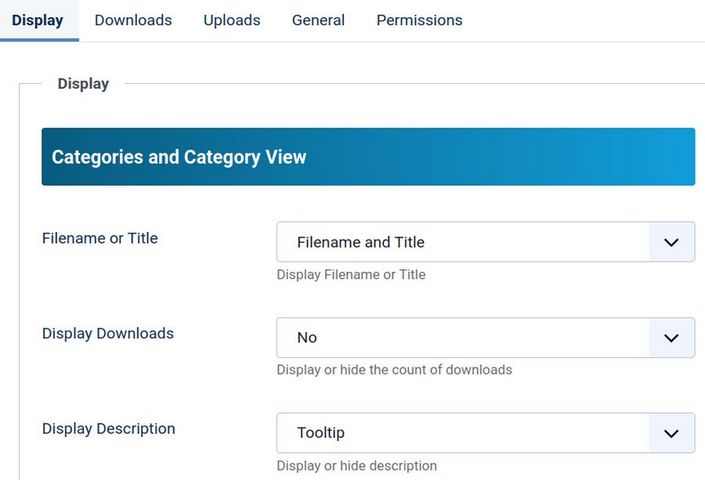
To improve the appearance of our download page, go to the Phoca Download Control Panel and click on Options in the Upper Right corner. This takes you to the appearance settings for the component:
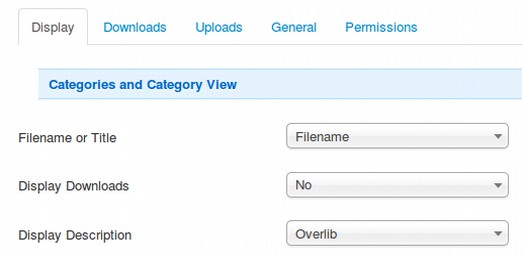
All the important settings are in the Display Tab. When you scroll down the page, it appears that there are a lot of settings. But in fact, there are only a few we need to deal with. First, let's hide the Display Detail button and instead place the File Description with each file. Change the Display Description from Overlib to Bottom. Then change Display Detail Button from Yes Overlib to No. Next, scroll down to the Theme Settings. Increase the File Icon Size from 16 to 48. Then click Save and Close and View Site.
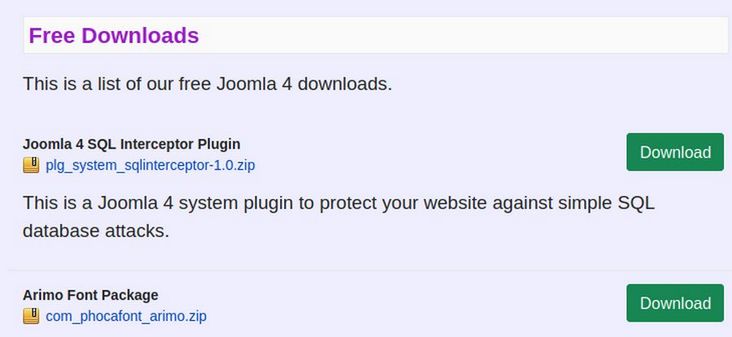
The appearance is now good. However, while our customers can download a file by clicking on Download, they can not just preview the file. To add a Preview option to each file, go to Phoca Downloads, Files and click on the first file to edit it. Change the direct link from No to Yes. Then click Save and close and repeat with the other PDF files. Then verify the Preview PDF view by clicking on Download.
What’s Next?
In the next chapter, we will review steps to manage our website over time.