
The common video sizes are ratios of 16 by 9 or 4 by 3. Thus, any free background videos you download are likely to be one of these two aspect ratios. This can be a problem if you want a background video for a module that is 16 by 4.5 or 16 by 16. In this article, we will explain how to use Open Shot to add custom aspect ratios to their list of options. We will then explain how to resize and crop a video to fit whatever size you need for your website module video backgrounds.
Download and Change the Appearance of Open Shot
You can download a free video editing program called Open Shot from the Debian Software Center. Then from the Debian Start icon, go to Sound and Video category and click on Open Shot to open it.
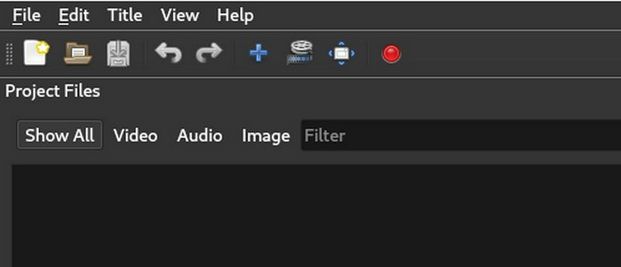
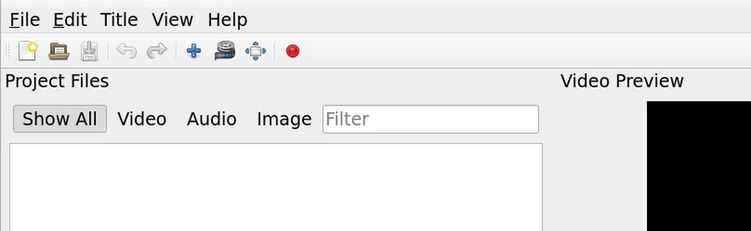
You can change the appearance of Open Shot to a light background by clicking Edit Preferences and changing the default theme from dark to no theme. Then close and open Open Shot again. Click Views, Views, Simple View.
Create a Custom Profile for Open Shot
A profile is a collection of video settings (size, frame rate, aspect ratio). Profiles are used during editing, previewing, and exporting to provide a quick way to switch between common combinations of these settings.
One of the first steps in editing any video is to choose the Profile for the Video Preview Panel. Click File, Select Profile to see this popup:
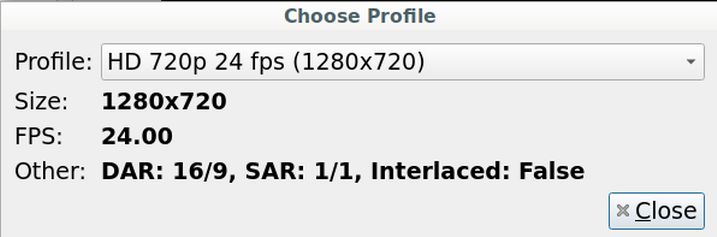
The default option is 1280 by 720 which is a version of 16 by 9 aspect ratio. It is set for a speed of 24 frames per second. Click the drop down arrow to see dozens of additional options. The most common option for video sharing platforms is 1080p 30 FPS (1920×1080). This will result in a very large file size. A large file size is OK if the video is hosted on a video hosting platform. But it is not OK if you will be hosting the video inside of your website on your own VPS. For many modules, we should stick with 1280×720. However, for our header, it is better to use a video that is substantially shorter than 720 pixels tall. Good options would be 1280×360 or even 1280×180. Sadly, neither of these are in the list of default options. We will therefore need to create our own custom Profile. Close Open Shot.
We will begin by looking at one of the default options to see how the default profiles were created. To see the default Profiles, open your File Manager. Then click on File System. Then click on the usr folder. Then click on the lib folder to open it. Then go to this file: /usr/lib/python3/dist-packages/openshot_qt/profiles/
Here you will see 75 default profiles which should not be changed.
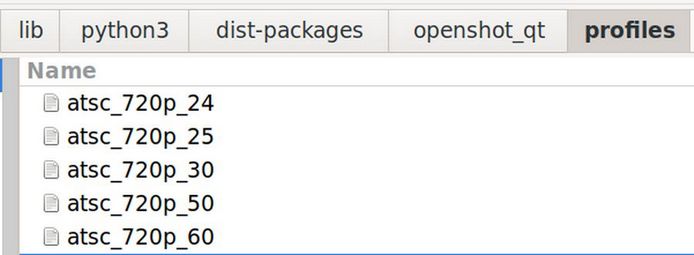
However, we can look at them to see how they are made and copy one to help us create our own custom profile. Right click on the first one to open it.
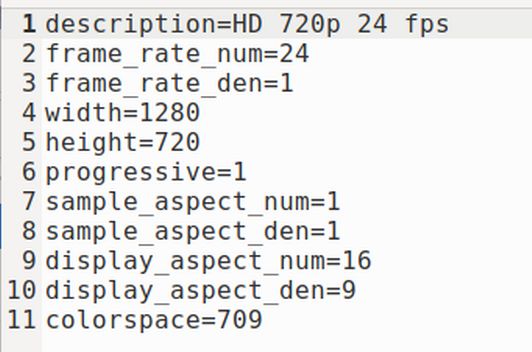
There are basically 10 lines as we will ignore the color space line. Here are some details about each line:
description=Custom Profile Name
frame_rate_num=24
frame_rate_den=1
Note: num stands for the numerator and den stands for the denominator. The actual frame rate is the numerator divided by the denominator which is 24/1 = 24 Frames per second.
Width=1280
height=720
progressive=1
sample_aspect_num=1
sample_aspect_den=1
display_aspect_num=16
display_aspect_den=9
Note: Even though the video height and width have been specified, setting the aspect ratio numerator and denominator will help load the video properly.
We will create a new profile with a file name aheader.txt. This custom profile reduces the height from 720 to 360 pixels and changes the display aspect from 16 by 9 to 16 by 4.5:
description=HD 360p 24 fps
frame_rate_num=24
frame_rate_den=1
width=1280
height=360
progressive=1
sample_aspect_num=1
sample_aspect_den=1
display_aspect_num=16
display_aspect_den=4.5
Open your file manager, right click and click Show Hidden files. Then go to openshot_qt and click the profiles folder to open it. It will be empty. Right click and click Create New Document, Empty Document. Then name the file aheader.txt
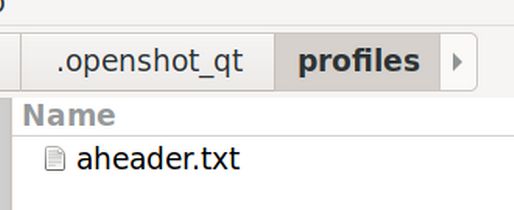
Then right click on the file and click Open with Text Editor. Copy paste the following:
description=HD 360p 24 fps
frame_rate_num=24
frame_rate_den=1
width=1280
height=360
progressive=1
sample_aspect_num=1
sample_aspect_den=1
display_aspect_num=16
display_aspect_den=4.5
Then click Save and Close. Close the file manager. Then restart Open Shot. Click Views Simple View. Then click File Choose Profile. Use the drop down arrow to select the 360 Custom Profile:
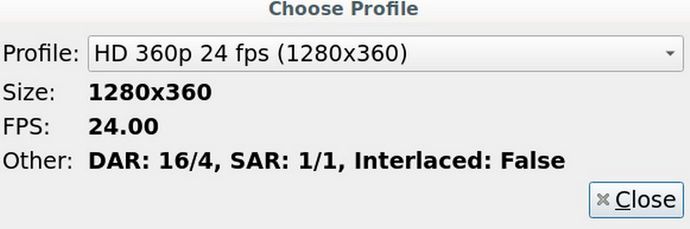
Note that the Video Preview screen will change size to match the profile height and width.
Name your Video Project and Import your Video
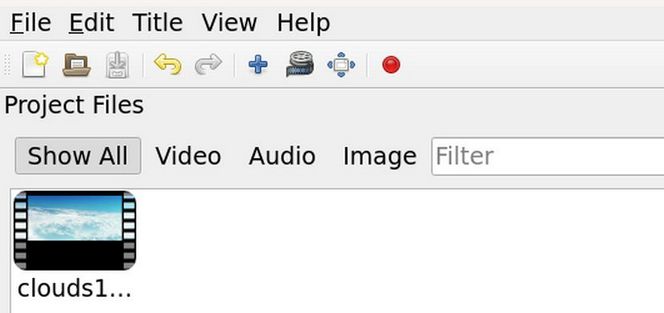
To name your first project, click File, Save Project As. Then name the project, for example header.osp and save the project in your website videos folder. Then click File, Import Files. Select the video you want to edit. The video will be placed in the Project Files panel:
Remove extra tracks and adjust the Timeline
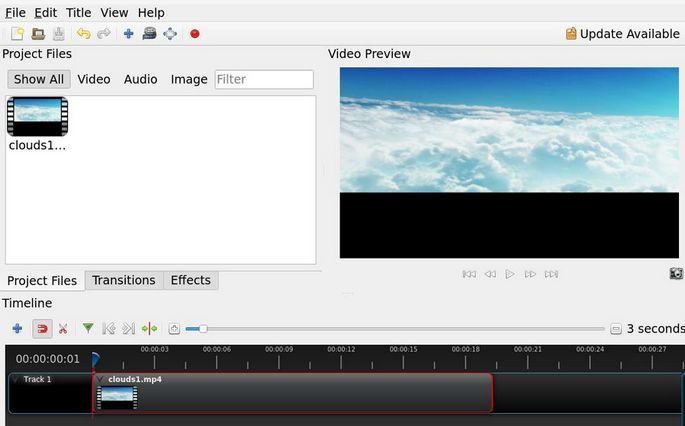
By default, Open Shot comes with 5 tracks at the bottom of the screen. We will only need 1 track. To remove the other four, right click on each and click Remove Track. Initially, the Timeline is set for 3 minutes. Click on the plus sign above the Timeline to reduce the time to 30 seconds. The right side should now say 3 seconds. Then drag and drop the video you want to edit to the very beginning of the Track 1 Timeline. The initial frame should now appear in the Video Preview. Here is what the video preview will look like with the Default Profile:
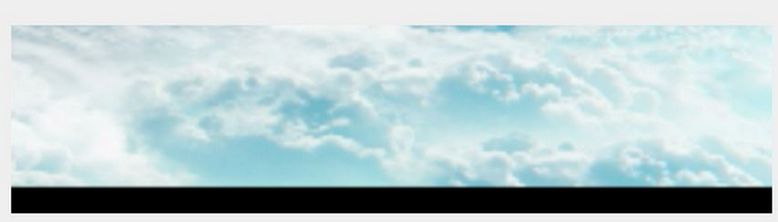
Here is what the video preview will look like with our custom Profile:
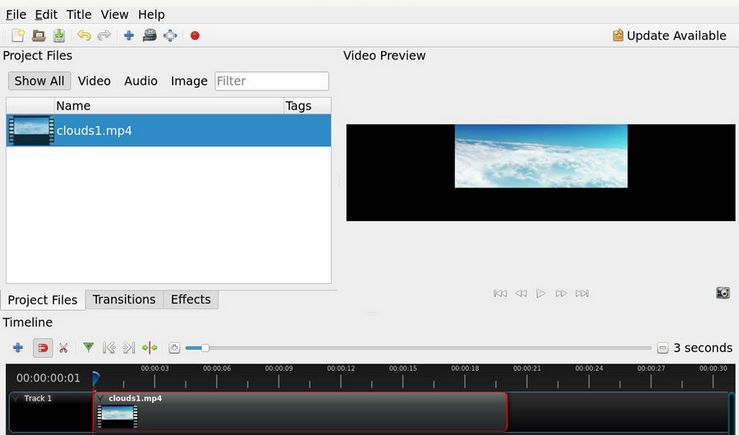
Both show a black bar on the bottom that needs to be eliminated.
How to Cut and Trim your Video
It is common to trim or clip off a few seconds at the beginning of the video. The above video is 20 seconds long. Each mark above the video is three seconds. We will cut off the first one to two seconds. This is a four step process. First, move the blue marker slightly to the right. You will see the frames change in the Preview Panel. Second, click on the Scissors icon (razor tool) to select it. Then place the razor line under the blue tear drop red line and double click it.
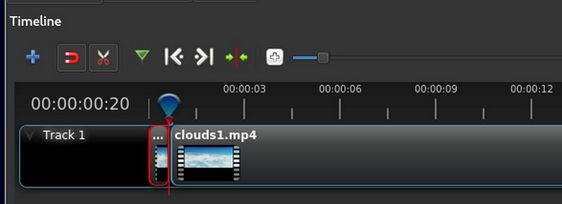
This will divide the video into two clips. The first one is read and the second one is blue. Click on the scissors icon again to unselect it.
Right click on the red clip and click Remove Clip. Then drag the tear drop to the beginning of the Timeline and drag the blue clip to the beginning. The new first frame will appear in the preview.
How to Crop your Video
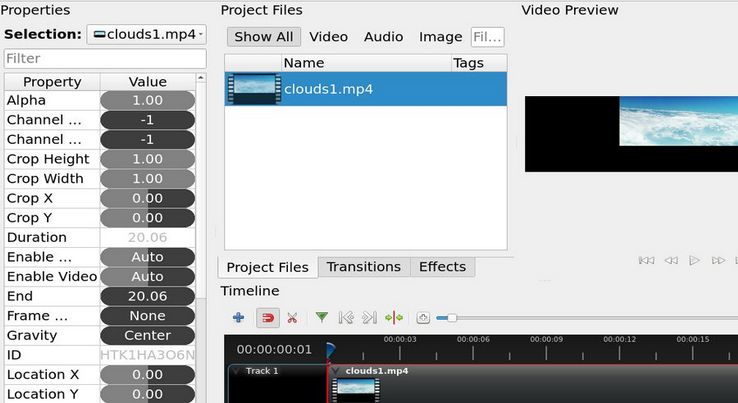
We will now delete the black area at the bottom of the video. Right-click on the video in the Timeline and click Properties. This brings up the Properties panel on the left side of the workspace. The Properties are shown in alphabetical order.
Scroll down to Scale X and Scale Y to increase both from 1.00 to 2.30. Change the value and press Enter. The Preview now looks like this:
Change Location Y from 0 to 0.4. This will completely eliminate the black bar from the bottom. Here is the Preview:
Play the video in the Preview to confirm it is what you want.
Save your new Video
Save the new video by clicking File, Export Project, Export Video.
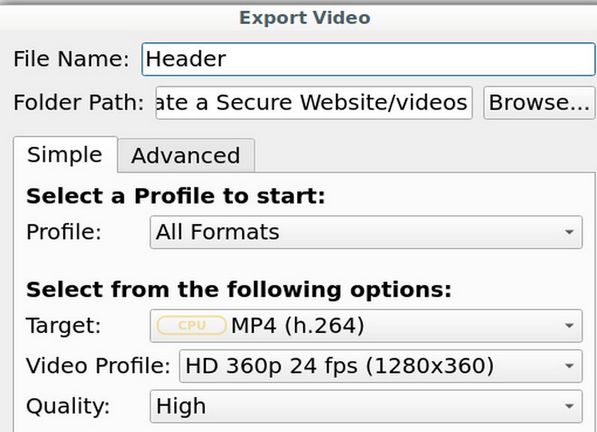
Reduce the video File Size
Change the file name to Header1. Then click on the Advanced Tab. Then click on Video Settings. The default Bit Rate is 15 MB/s. This will result in an extremely large file size as the video is 20 seconds long. Reduce the bit rate to 5 MB/s. Then click Export Video. When finished, click Done. Click File Save to save the project. Then click File Quit. Then find and play the Header1.mp4 video.
Additional Reading
Here is another article you can read to learn more about creating videos and editing them with Open Shot:
https://createasecurewebsite.com/final-steps/8-site-promotion/8-2-create-edit-and-post-informational-videos
Here is an article that explains how to add a background video to any module on your Joomla website:
https://createasecurewebsite.com/10-more-web-tips/1-create-a-joomla-module-with-a-video-background
As always, I look forward to your questions and comments.