
Now that we have set up our Joomla website, in this article we will add the JCE Editor to make it easier to add images. We will then use Libre Writer to create a header for our website. Finally, we will write a Welcome article for our Home Page.
Step 1 Download and Install the JCE Editor
The JCE Editor makes it much easier to load and resize images compared to the standard Joomla editor. To download the JCE editor, go to this page:
https://www.joomlacontenteditor.net/downloads/editor/core
Then click on Download for the latest version. Then transfer the extension from your Downloads folder to your website Extensions folder. Then log into the Joomla Dashboard and click System, Install, Extensions. Then click Browse for File. Then select the JCE zipped folder. It will install automatically.
Step 2 Configure the JCE Editor
To Configure the JCE Editor, go to Components, JCE Editor. Then go to Editor Profiles, Default, Features & Layout Tab and reduce the number of tools from four rows to two rows by dragging unused icons to the lower area. When we are done, this is what the Editor Tool Bar will look like:

Click Save. Then click on the Plugin Parameters tab. Then click on the Image Manager tab and set alignment to Center. Then click Links, and set Target to Open in a New Window. Finally, click Media Support and change Allow Iframes to Yes. Then click Save and Close. We now have the JCE Editor set up. Then, go to Users, Manager. Then click on your name to open your profile. In the Basic settings tab, set the JCE Editor as your new default editor. To finish setting up, in System, Global Configurations, change the Default Editor to JCE Editor. Then click Save and Close.
Step 3 Use Libre Writer to Create a Header Image
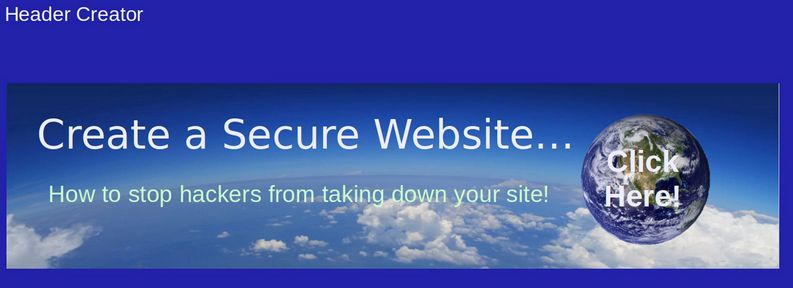
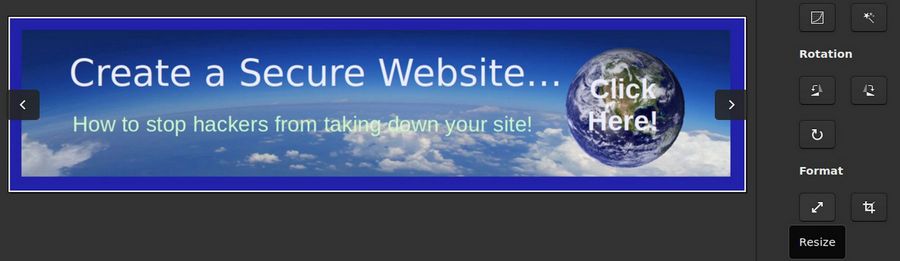
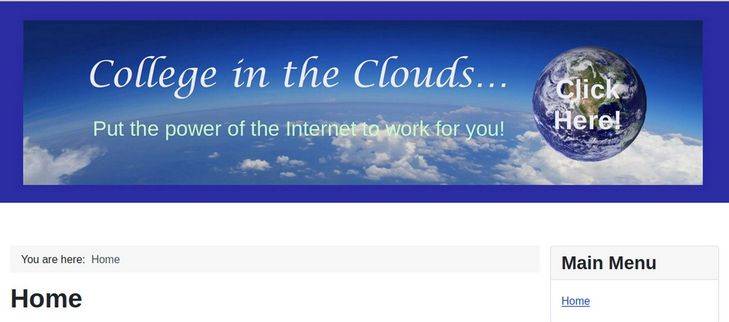
Before we create our Welcome Article, we should first create our own header image using Libre Draw and Flameshot. A header is a full width image at the top of your Home web page. It is like the cover of a book. It helps website visitors understand what your website is about in a matter of seconds. A website header typically consists of a background image with one line of text in the foreground with the name of your website and perhaps a second line of text below it that has a slogan. Here is an example:

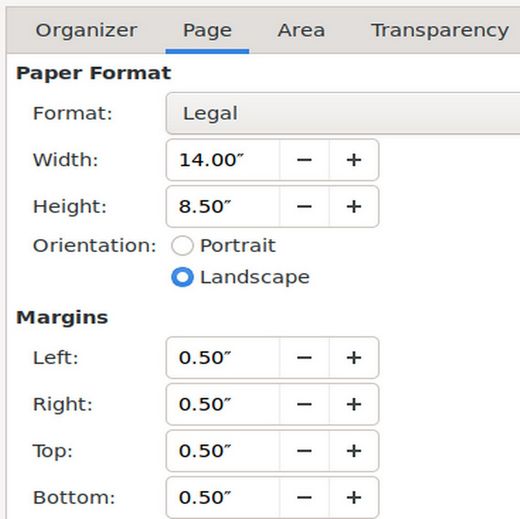
So that the header does not take up too much vertical space, seek out a background image that is much wider than it is tall. Then open a new Libre Writer document and save it in your website images folder as Header Creator. Click Format, Page Style, Page tab and change the format from Letter to Legal. Then change the Orientation from Portrait to Landscape. Then change all four margins to 0.5 inches.
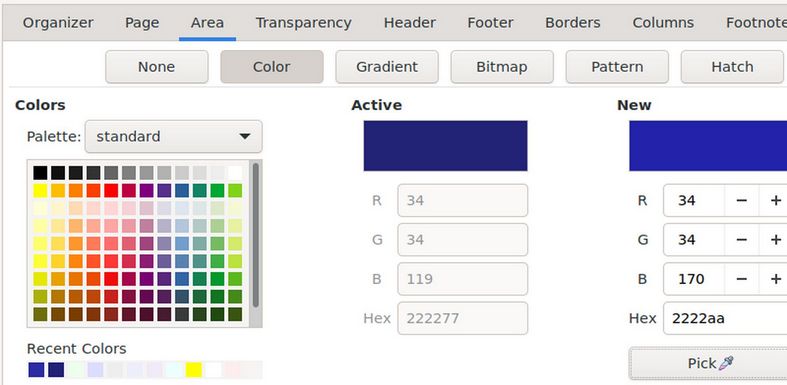
Then click on the Area tab and click the Color option. Then use the Pick button to change the color to 2222aa Dark Blue
Then click OK. Then use Flameshot to capture an image and paste it into the Writer document:

To make things more interesting, you can add a second image:

Then add a text box for the title line and another for the slogan line:
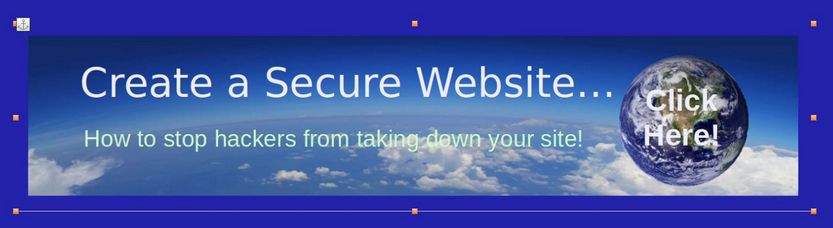
Use Flameshot to select an area including a border and copy it. Then on a second page of the Header Creator document, paste the image.
Step 4 Compress and Save your Header Image
Right click on the image and click Compress to bring up this screen:
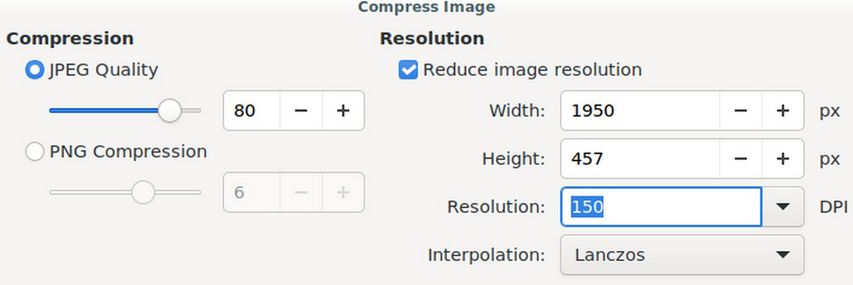
Change the resolution to 150 DPI. Then click OK. Right click on your image again. Then click Save. Navigate in your File Manager to your website images folder and save the image as header.jpg. Then save and close your Writer Header Creator document.
Step 5 Use Gthumb to Resize and Crop your Header Image
Click on the Debian Cinnamon Start button. Then in the Graphics category, click on Gthumb to open it. If you do not already have this program installed, you can download it from the Debian Software Manager. Navigate to and click on your header image to open it.
Then click the Format Resize button in the lower right corner.
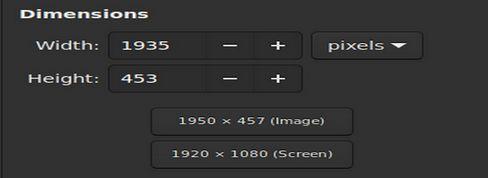
Initially, the width is 1935 pixels. Click on the minus sign to reduce the width to 1800 pixels. Then click Accept. Then click on the Crop button which is just to the right of the Resize button. Click Maximize.
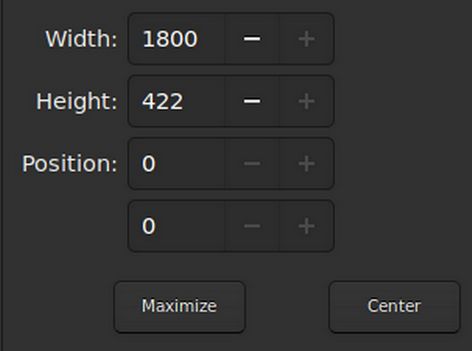
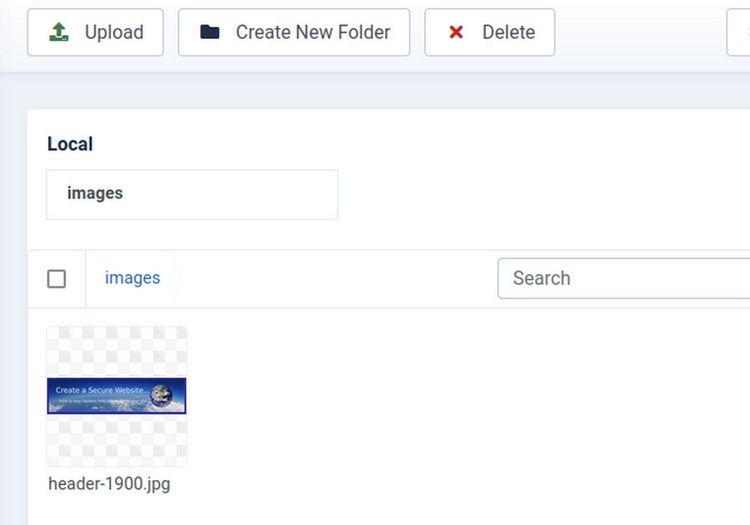
The height is 422 pixels. Click the minus sign to reduce the height to 400 pixels. Then click the Position Plus sign to add back 9 pixels (taking some of these 22 pixels off the top of the image). Then click Accept. Then click the Save As button and save the image as header-1800.jpg. Then close Gthumb. Here is our File Manager Images folder:

Note that the header image is under 100KB.
Step 6 Load your Header Image
Log into your Joomla Dashboard. Then go to Content, Media. Upload, Browse. Select the Header-1800 Image and then click Upload.
Step 7 Create a Header Module
To add this image to a Joomla module, go to Content, Site Modules, New, Custom. For Title, type Header. Then Hide the title and select the banner position. Then click on the JCE image icon to select and insert the header image.
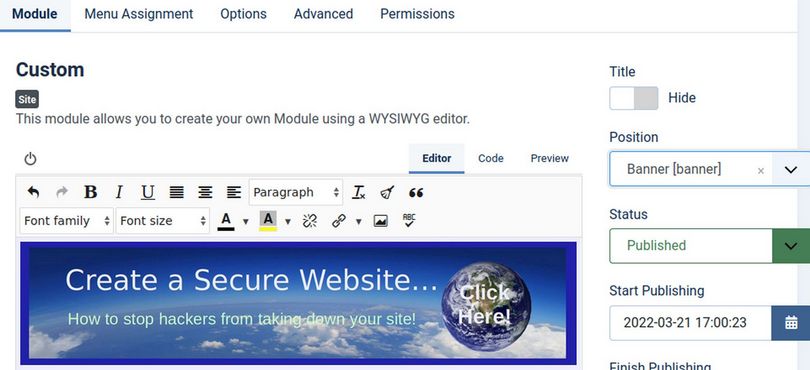
Then click Save and Close. Click on the front end to view the result:
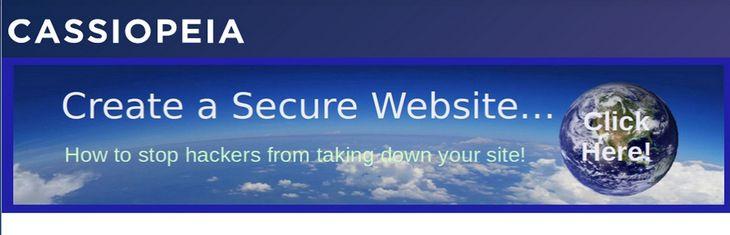
To get rid of the word Cassiopeia, click Template, Styles and click on the template to edit it. Click on the Advanced Tab and turn of Brand.
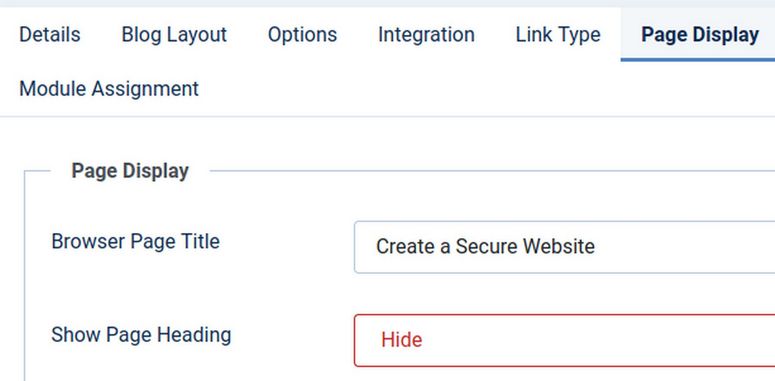
Hide the Main Menu for now as we will use a different template to configure it later. Click Content, Site Modules and select the main menu and click Unpublish. We will also hide the Home menu item by going to Menus, Main Menu and clicking on the Home menu item. Click the Page Display tab. Then change Show Page Heading to Hide and change the Browser Page Title to the name of your website.
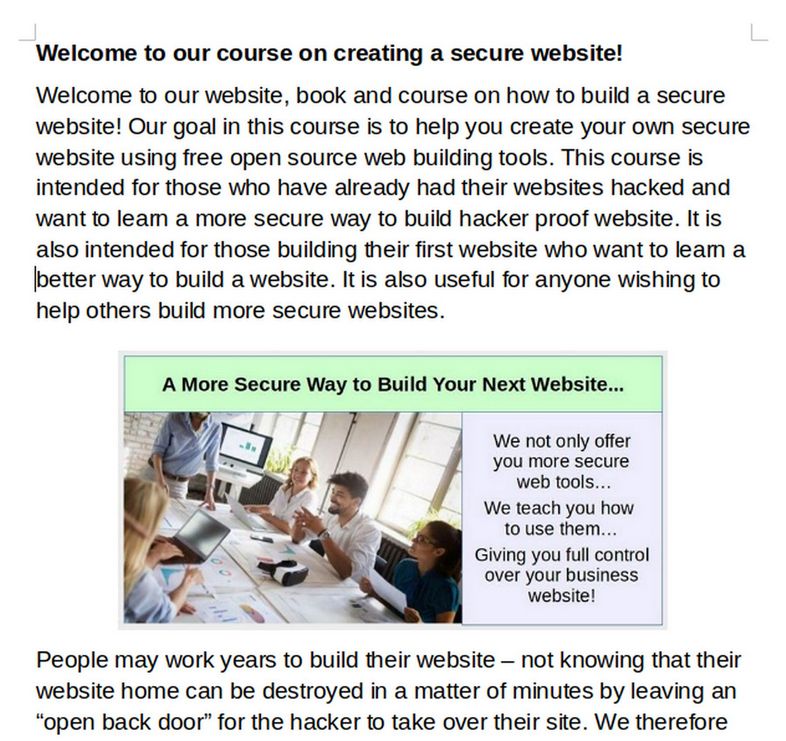
Step 8 Use Libre Writer to Create a Welcome Article
Create a new Writer document and save it in your website articles folder as Welcome to My Website. Add text explaining the benefits of your website. Then use Libre Draw and Flameshot to add images for folks who get more from looking at images than reading text.
When you are done creating your Welcome article, right click on each image and compress to 150 DPI. Then click Save As and save a copy of the Welcome article with a w (for web version) at the beginning of the file name.
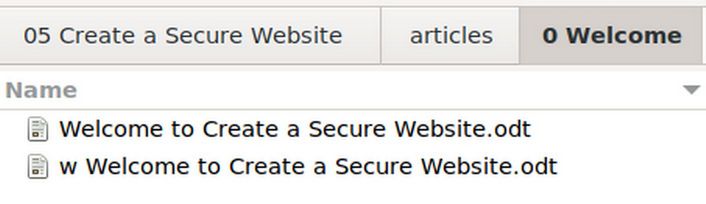
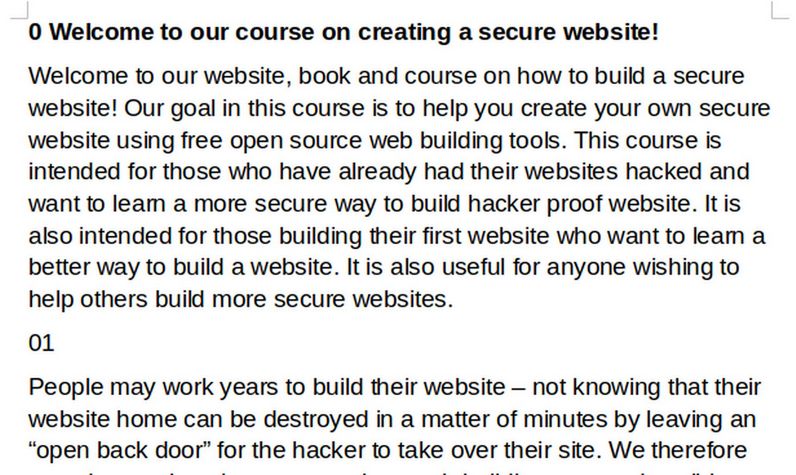
Next, create a 0-welcome folder in your file manager images folder. Then use the web version to create a text only document by typing a placeholder image number above each image. Then save each image to the 0-welcome images folder. Then delete each image leaving only the placeholder image numbers.
Step 9 Upload the 0-welcome images to your website media manager
Log into your Joomla Dashboard and click Content Media to open the media manager:
Click Create New Folder:
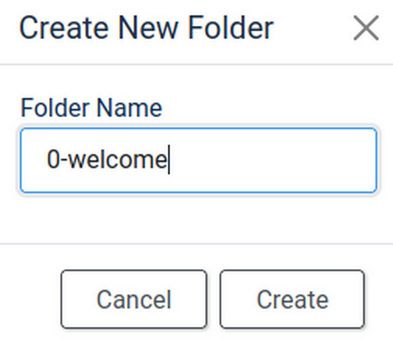
Name the folder 0-welcome and click Create. Then click on the 0-welcome folder to open it. Then click on Upload to upload all of the images from the 0-welcome images folder on your home computer.
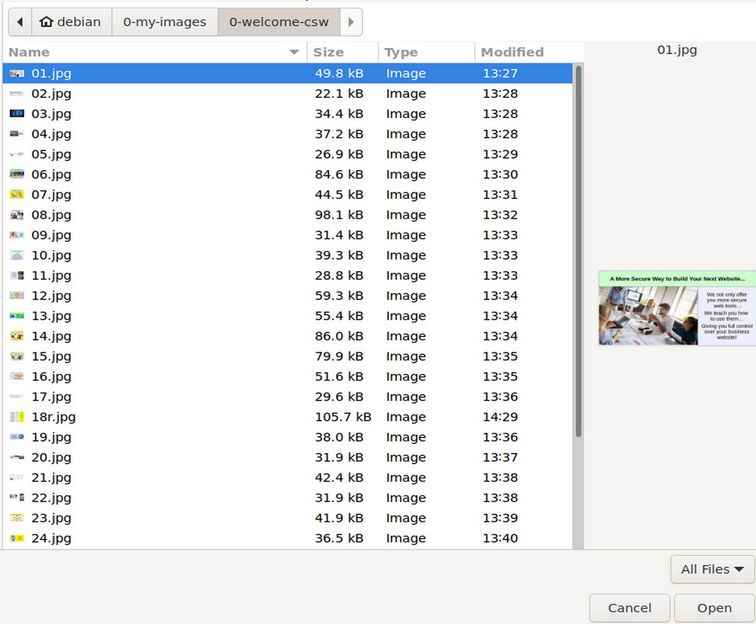
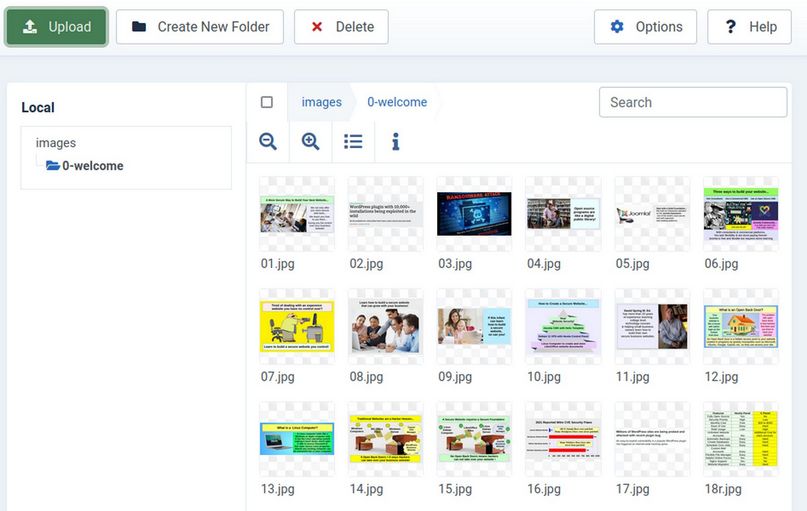
Hold down the Control key to select up to 20 images. Then click Open. Then click Upload again if needed to load any remaining images. Here is the result:
Step 10 Use the JCE Editor to Copy Paste the Text Only version of your Welcome into a new Joomla article
Go to Content, Articles, New and type in a title for your Welcome Article. Copy the text only version of your welcome article into your clipboard. Then place your cursor in the JCE workspace and click Paste. This will bring up a Paste popup. Press Control plus V on your keyboard to paste the text into the workspace:
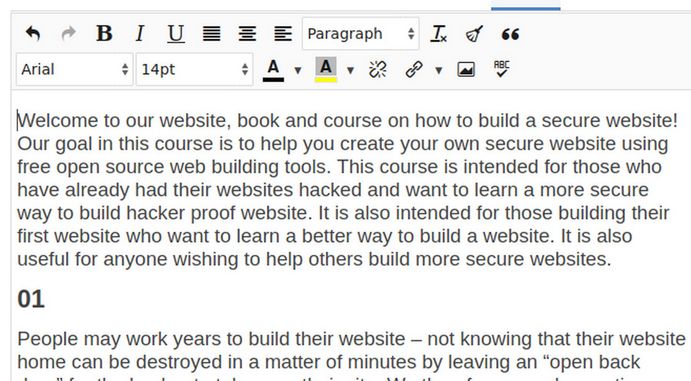
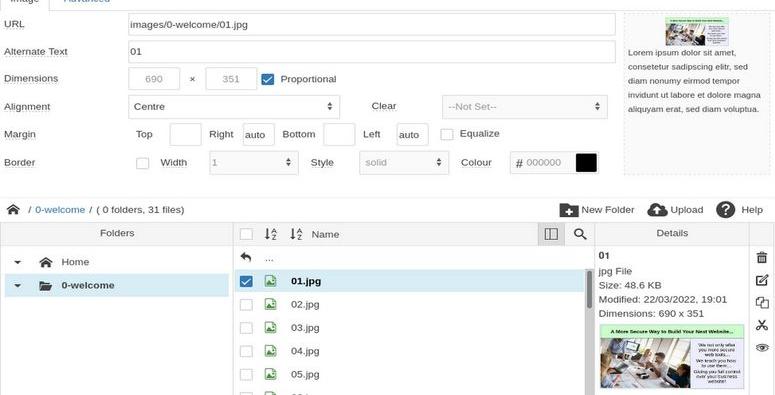
Click Save. Then select all of the text and change the font family to Arial and the font size to 14. Then change Featured from No to Yes. This will put the article on your Home page. Click Save again. Delete the placeholder 01 and click the Picture Icon in the JCE editor to open the JCE Images Manager. Select the first image in the 0-welcome images folder:
Then increase or decrease the width if needed. The maximum width should be 800 and the minimum width should be 300. Then click Insert. Then scroll down to placeholder 02 and delete the 02 and click on the images icon to repeat the process. After the first 10 images, click on Save at the top of the page. Then finish loading the images and click Featured, then click Save. Then click Save and Close. Then visit the front end of the site to view and check the Welcome article:

To hide the Details, which distracts from the article, go to Content, Articles and click on Options in the upper right corner. Set Show Category and Link Category to No. Set Show Author and Show Publish Date to Hide. Set Show Tags and Show Hits to Hide. Then click Save. While we are here, click the Category Tab and Hide the Subcategories, No Articles Message and Subcategories Descriptions and Tags. For categories, hide subcategories and # of articles. For the Blog tab, we can change the defaults to 9 leading articles, 9 intro articles, 1 columns and 9 links. For List Layouts, hide Hits and Author.
What’s Next?
In the next article, we will provide some additional tips for creating a secure website – and for keeping it secure over time.