
#5 Create Matching Images Folders with your Joomla Media Manager
Log into your Joomla Dashboard and click Content, Media. We will use the Joomla Media Manager to create a new images folder for our new article. The welcome article is special because it does not need an images category folder. Just create a folder called 0-welcome. To create a new images folder, click Create New Folder:
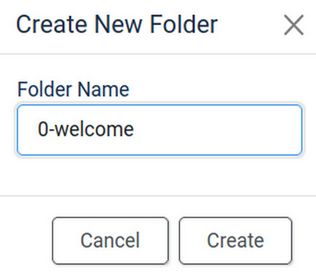
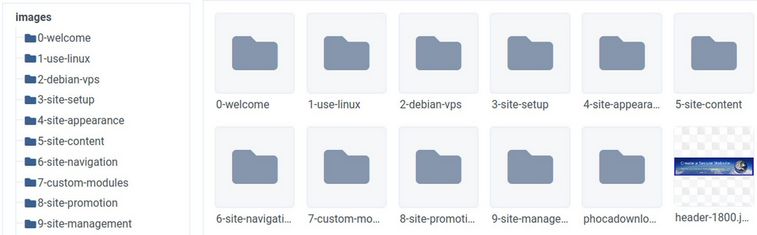
Type the name of the article (in lower case with no spaces) in the box. We will type in 0_welcome for the name of this images folder. Then click Create. Here is my 0-welcome images folder and my 9 image category folders.
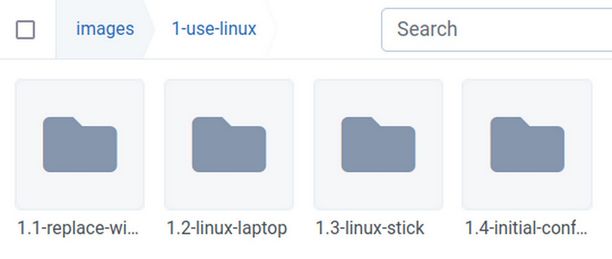
Here are the four image article folders inside of the first image category folder:
Each time you write a new article, or add a new web page, you should create a folder for the images in that new article in both your home computer’s images folder and also your website’s images folder. Now that we have our category folders made, we are ready to transfer our welcome article images from our home computer images welcome folder to our website welcome folder.
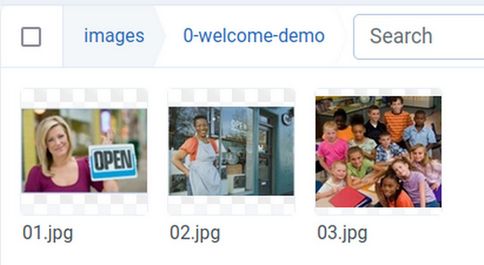
To upload images from your home computer to the 0-welcome folder, open the 0-welcome folder. Then click Upload. Then open your 0-welcome images folder on your home computer. Click on the first image file to select it. After selecting the first image in your images folder, hold the control key down on your keyboard as you select all remaining images in this folder. This will allow you to load 30 images at a time. Then click OK. The images will be loaded automatically. Here are the 3 images inside of my 0-welcome images folder:
Once you have loaded your images for your Home page welcome article, you are ready to add the Welcome Article to your Joomla website. But first, we will create our Joomla Categories.